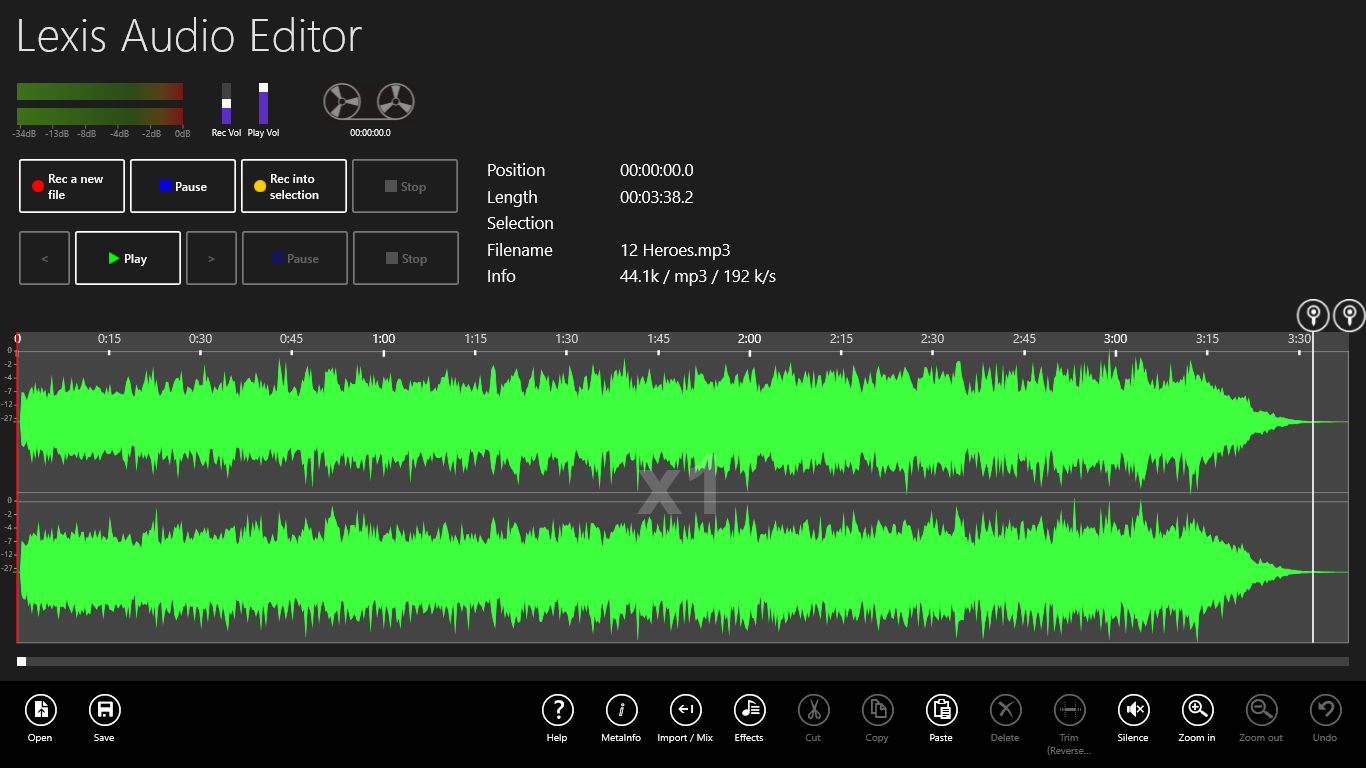
Operating concept
On a tablet:
Open the main menu with a wipe from bottom or top. (If the menu is not already open)
Using with a mouse:
Use the right mouse button to open the main menu. (If the menu is not already open)
You can also use the keyboard to operate the program:
– F5 : Play / Pause
– F3/F4 : 2 sec back / forward
– Ctrl++ : Zoom in
– Ctrl+- : Zoom out
– Ctrl+C : Copy
– Ctrl+X : Cut
– Ctrl+V : Paste
– Del : Delete
– Ctrl+O : Open a file
– Ctrl+S : Save a file
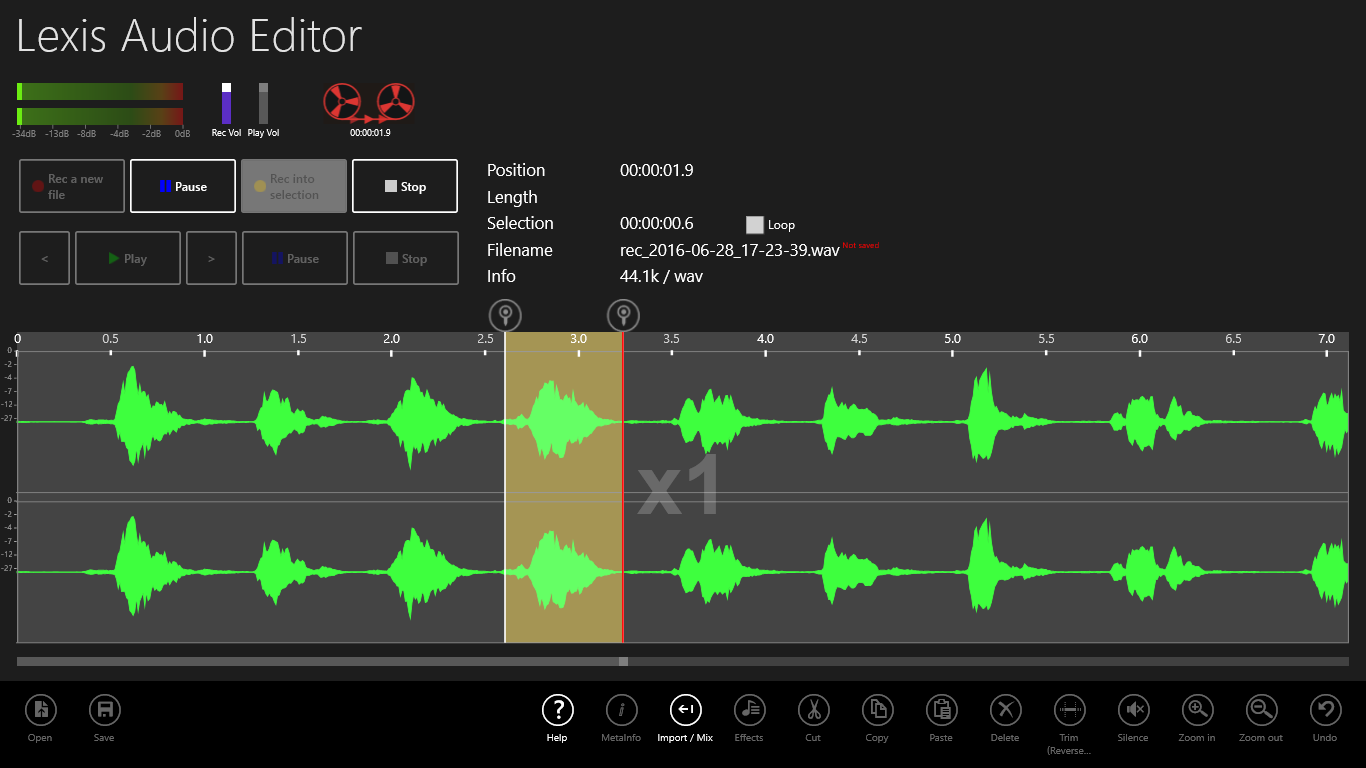
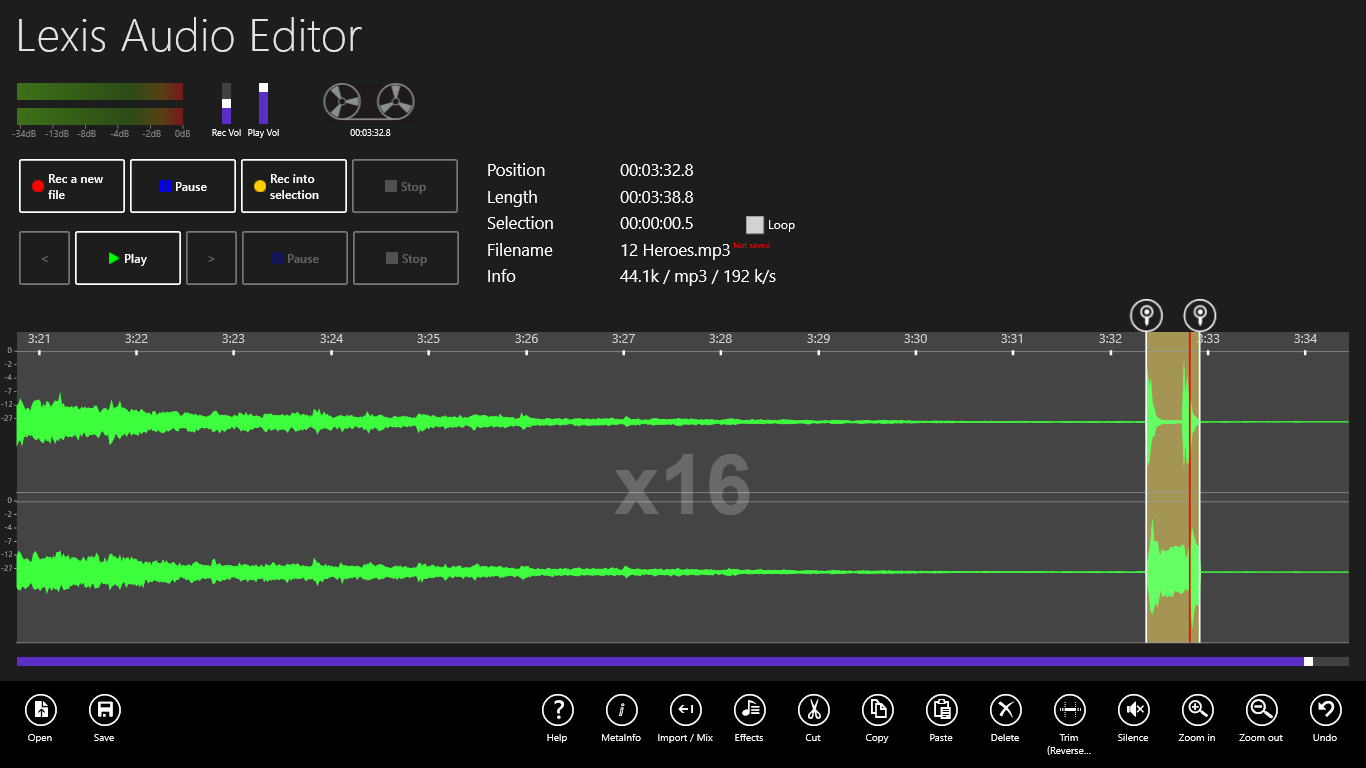
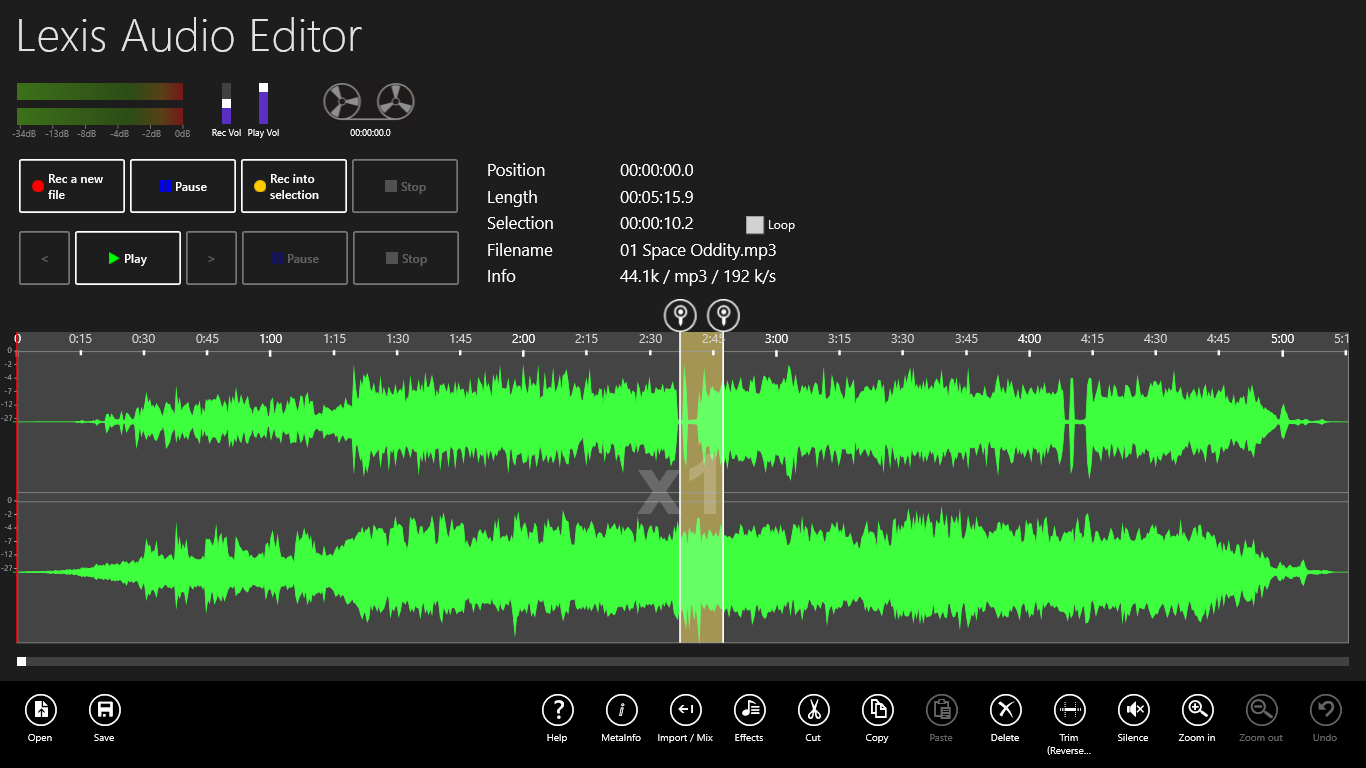
 Define selection
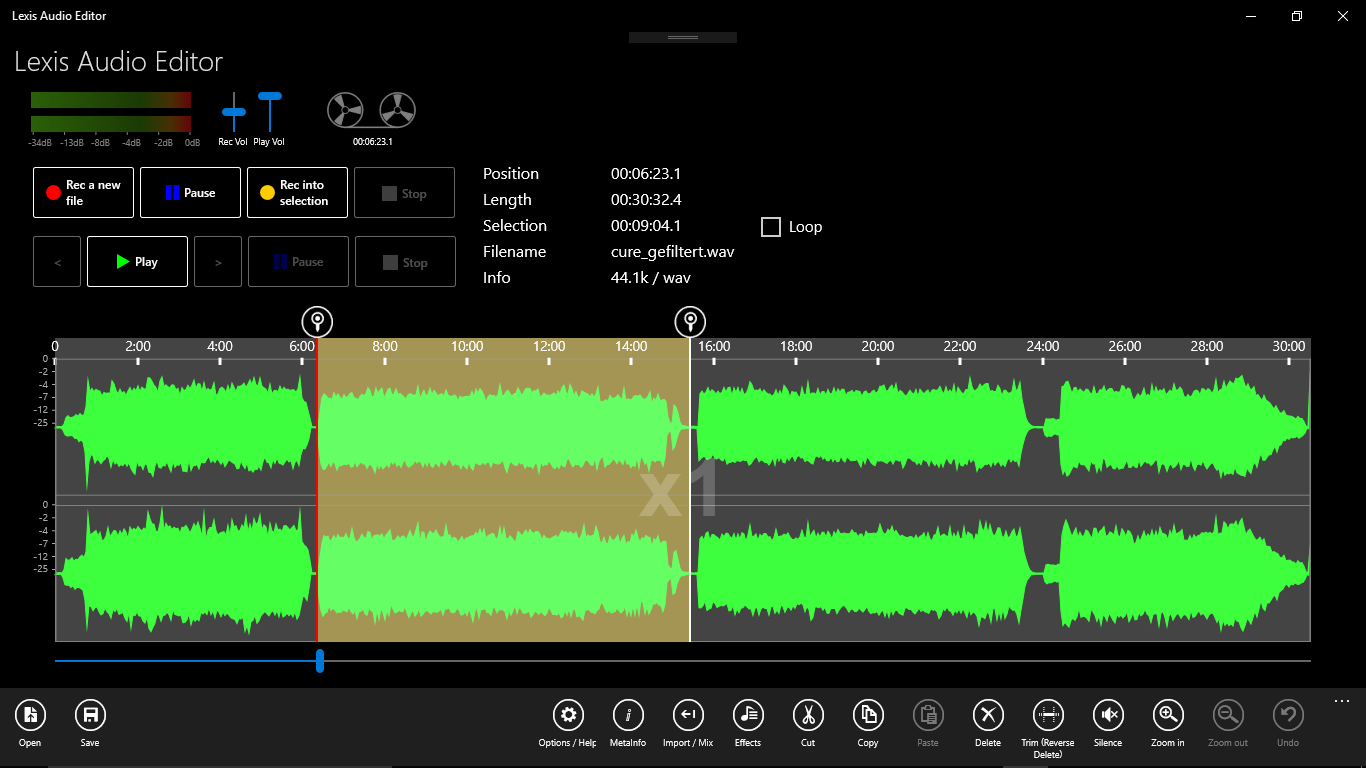
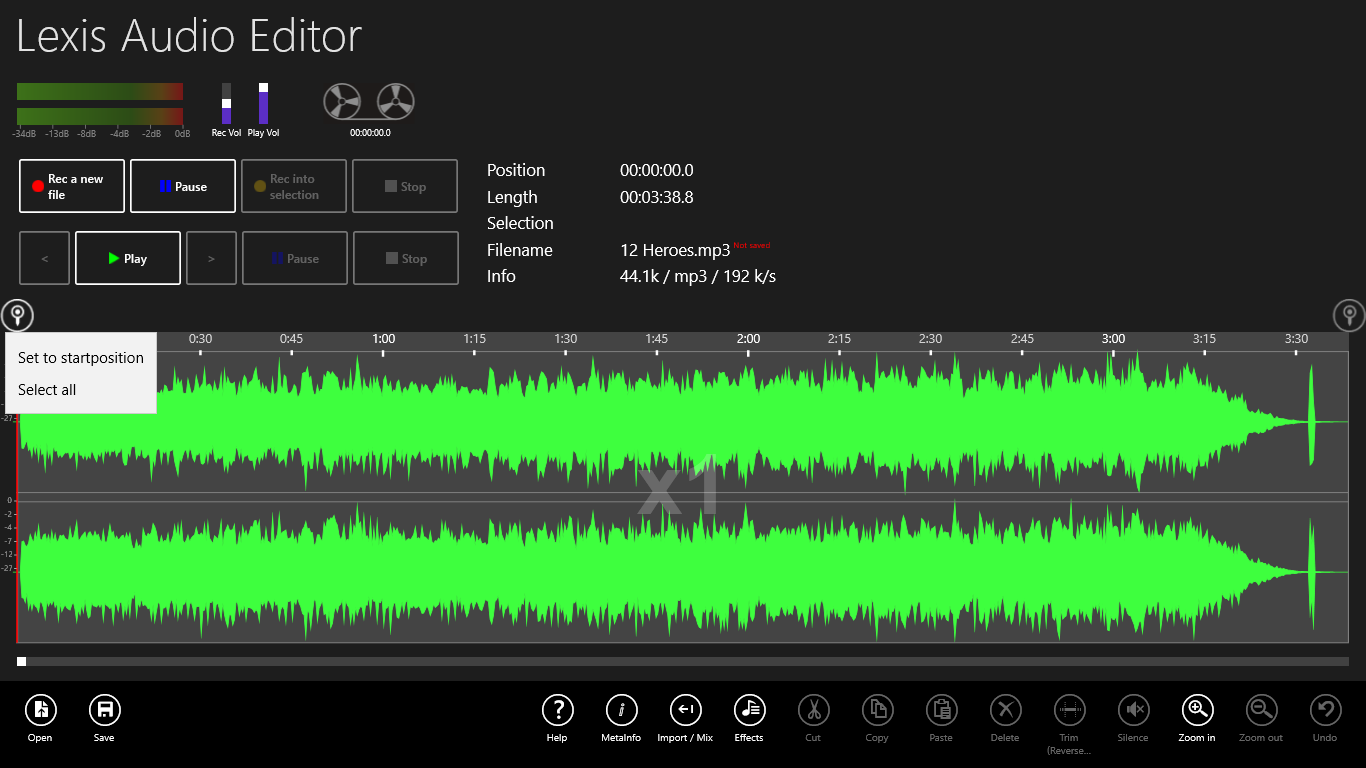
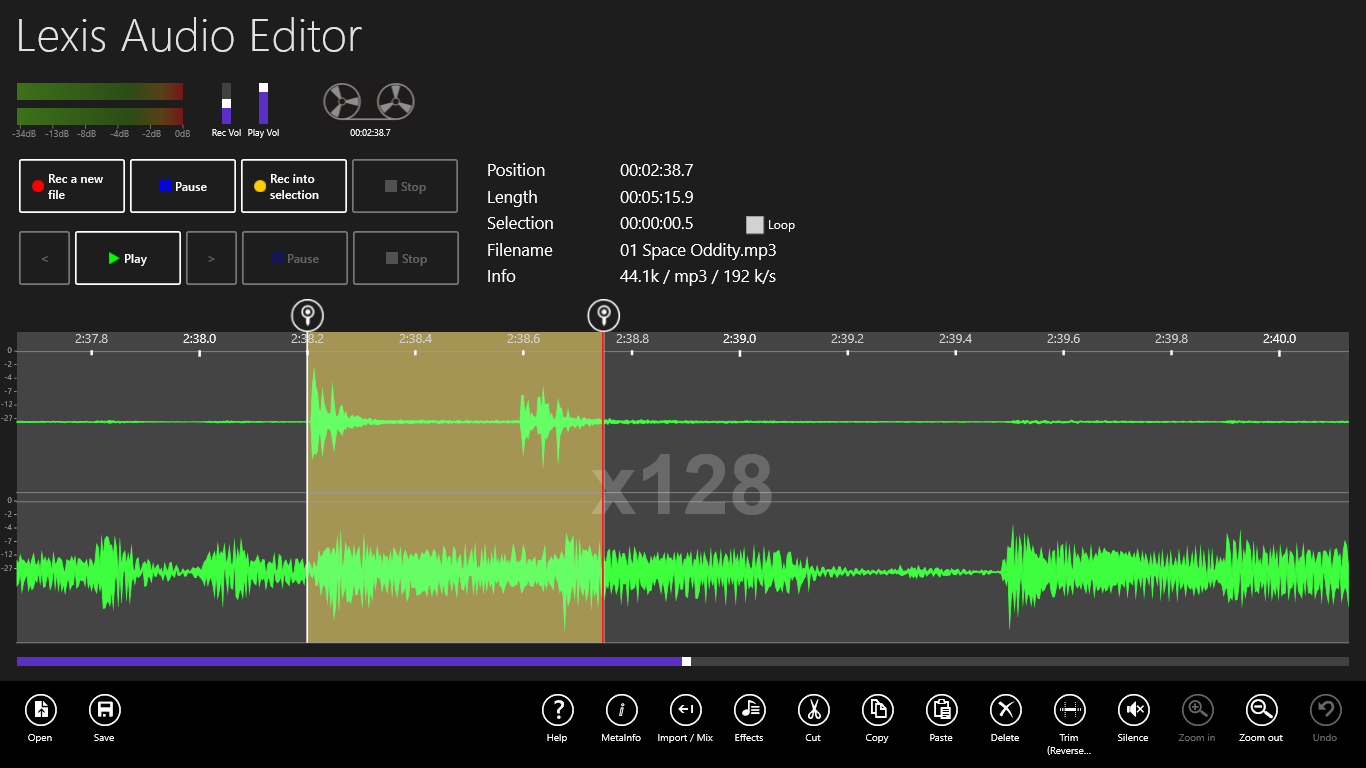
To set the startposition, shift the left selector (round button upstairs of the curves at the left side of the screen) to the desired position. To set a range, shift the left and right selector to the desired positions and click on the menu the desired function.
Shift the left selector full to the left side to remove the range. Shift the right selector full to the right side and the startposition will remain.
To set the left selector exact to the beginning, press and hold the left selector 2 seconds, then select “Set to startposition”. The same concept applies to the end position. To select the entire audio file choose “Select all”.
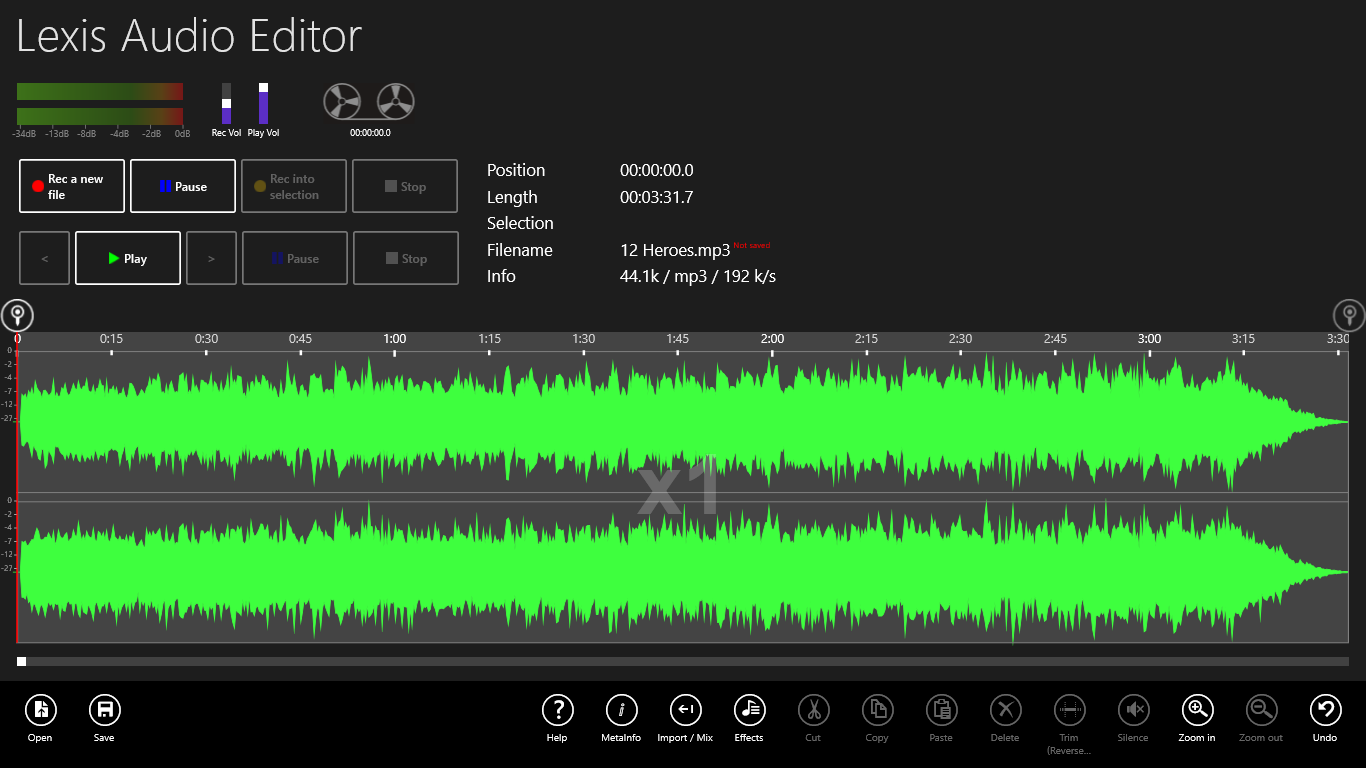
 Open file
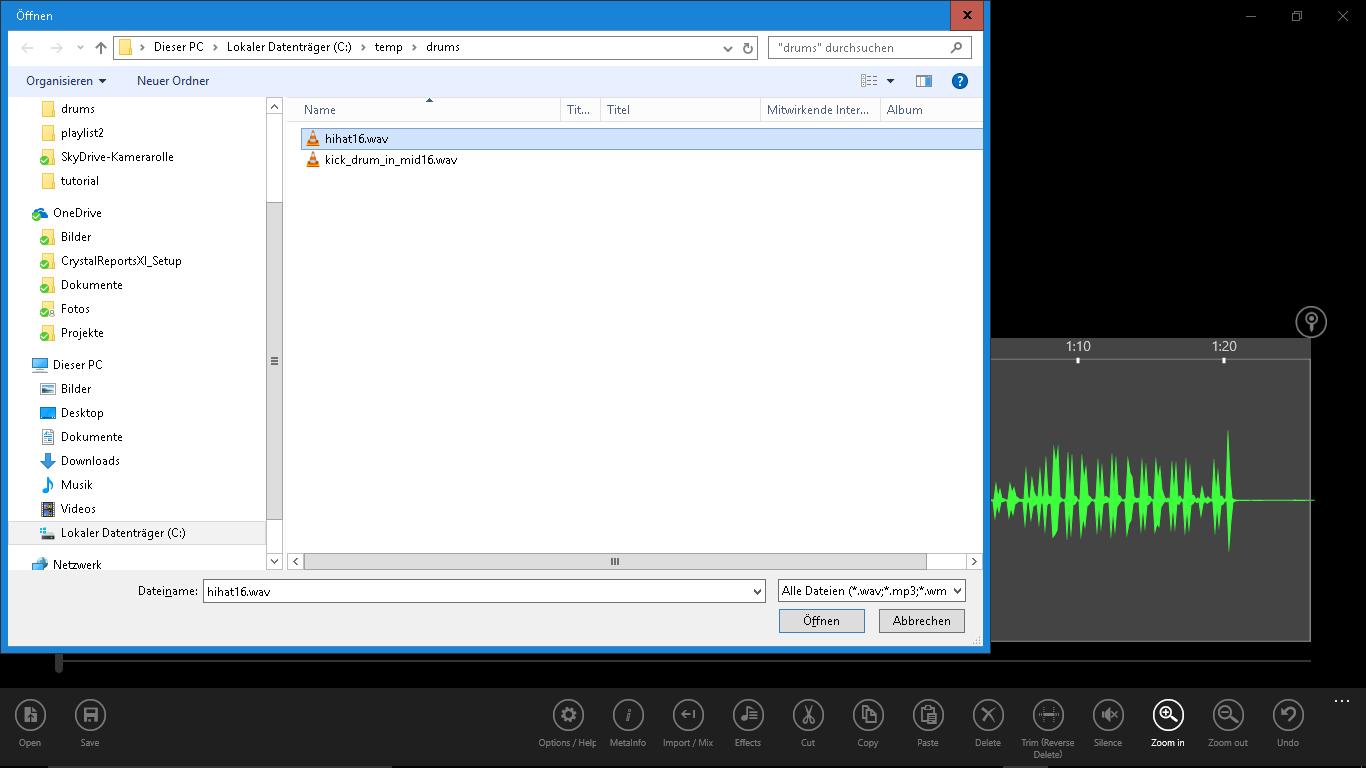
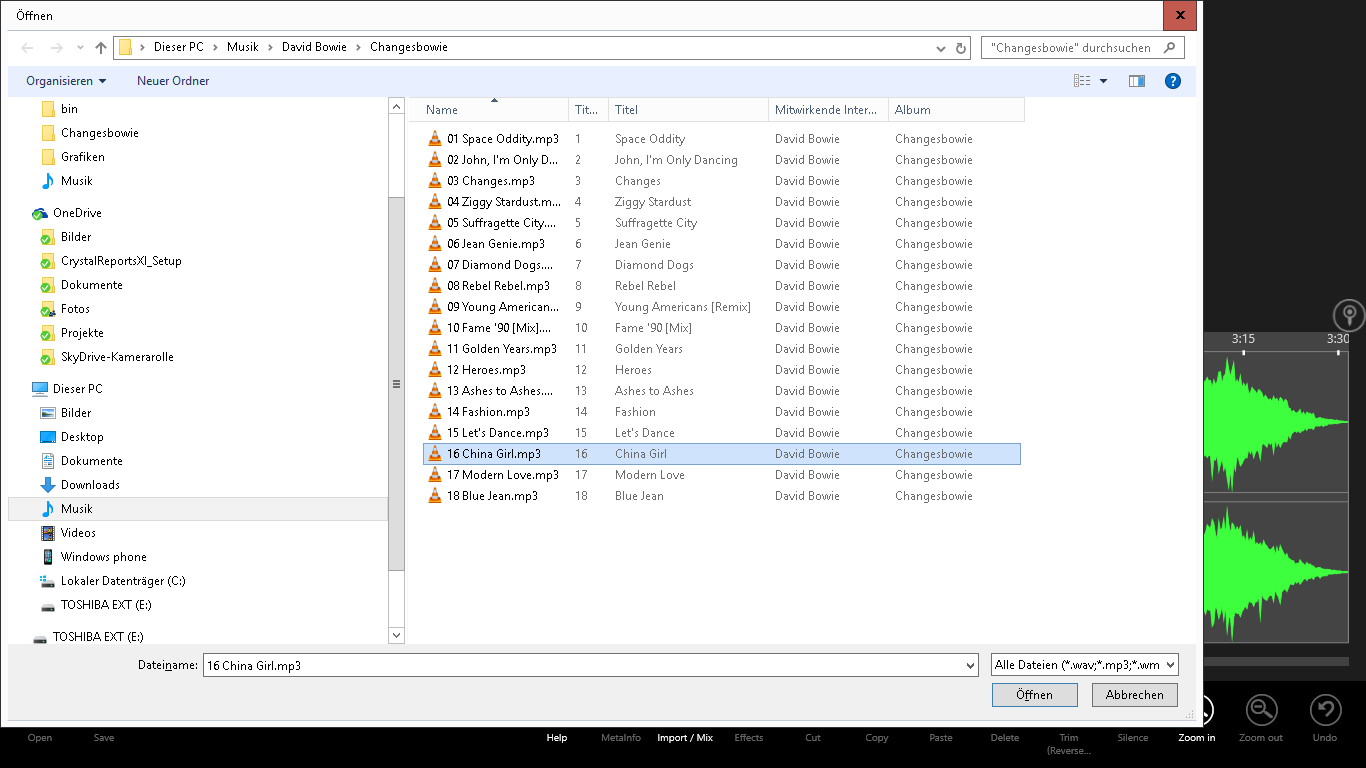
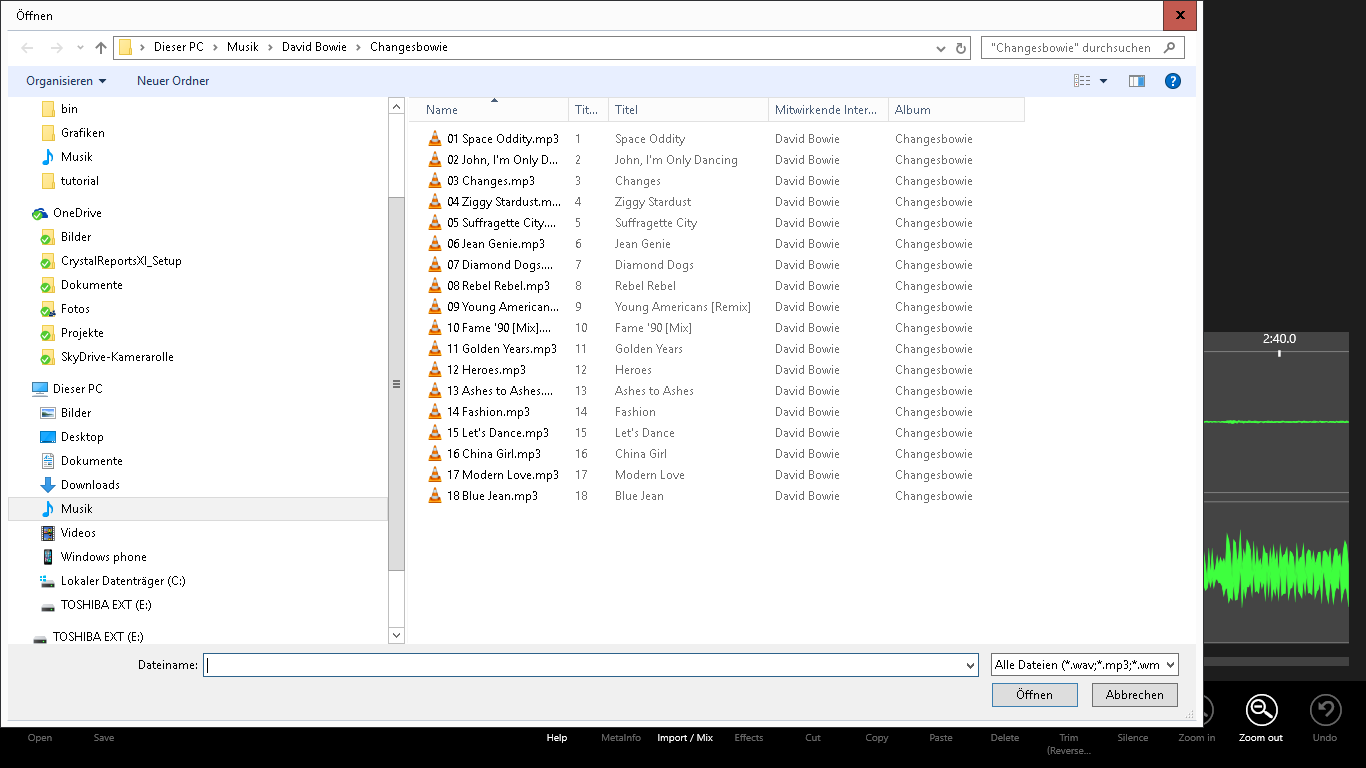
Click on “Open”, choose a file and click on “open”. If the current file is not saved a warning messagebox appears.
 Save a record
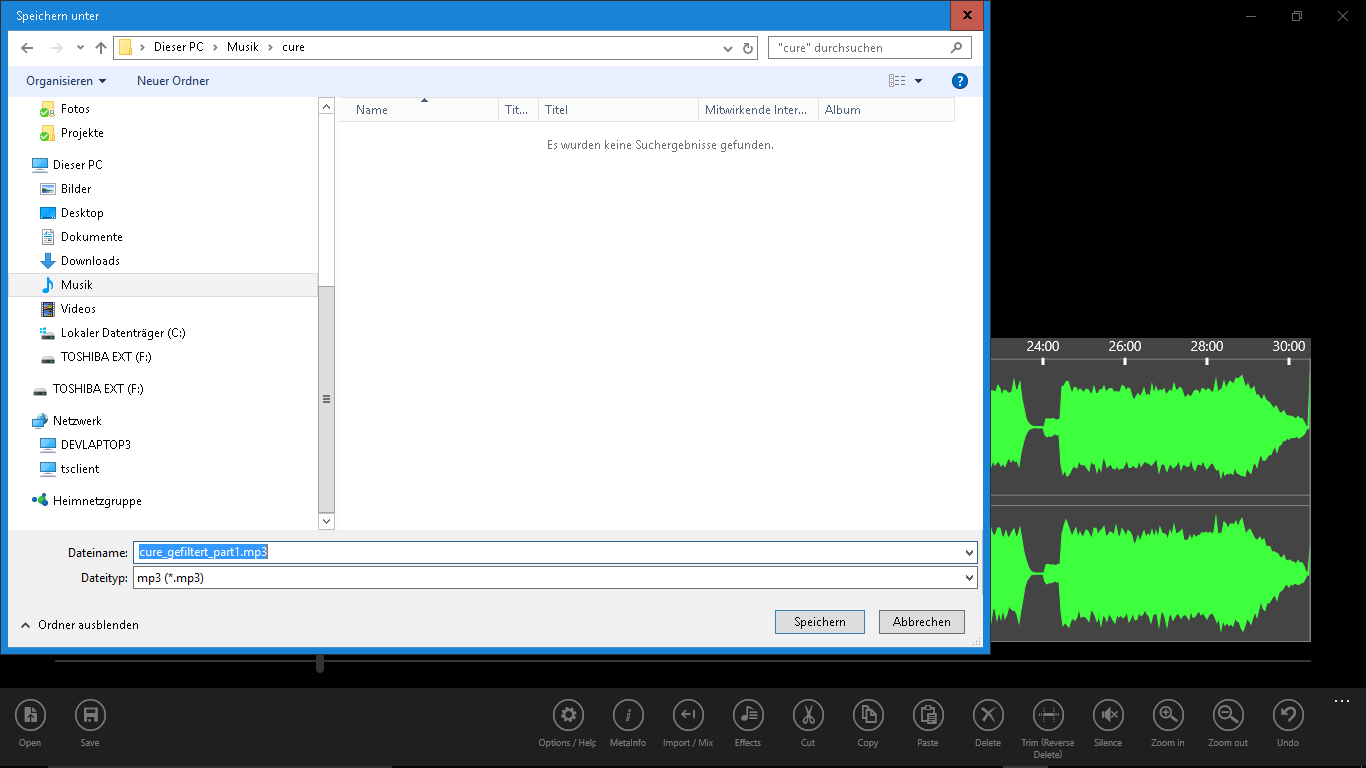
Click on “Save” and write in the filepicker dialog a filename. Choose the desired format “mp3”, “m4a”, “wma” or “wav”. If the current file is in the wav format, the compressed file types use the quality defined in the options.
You can change the bitrate of an open compressed file with a click on the textfield “Info”. The new bitrate will apply if you save the file.
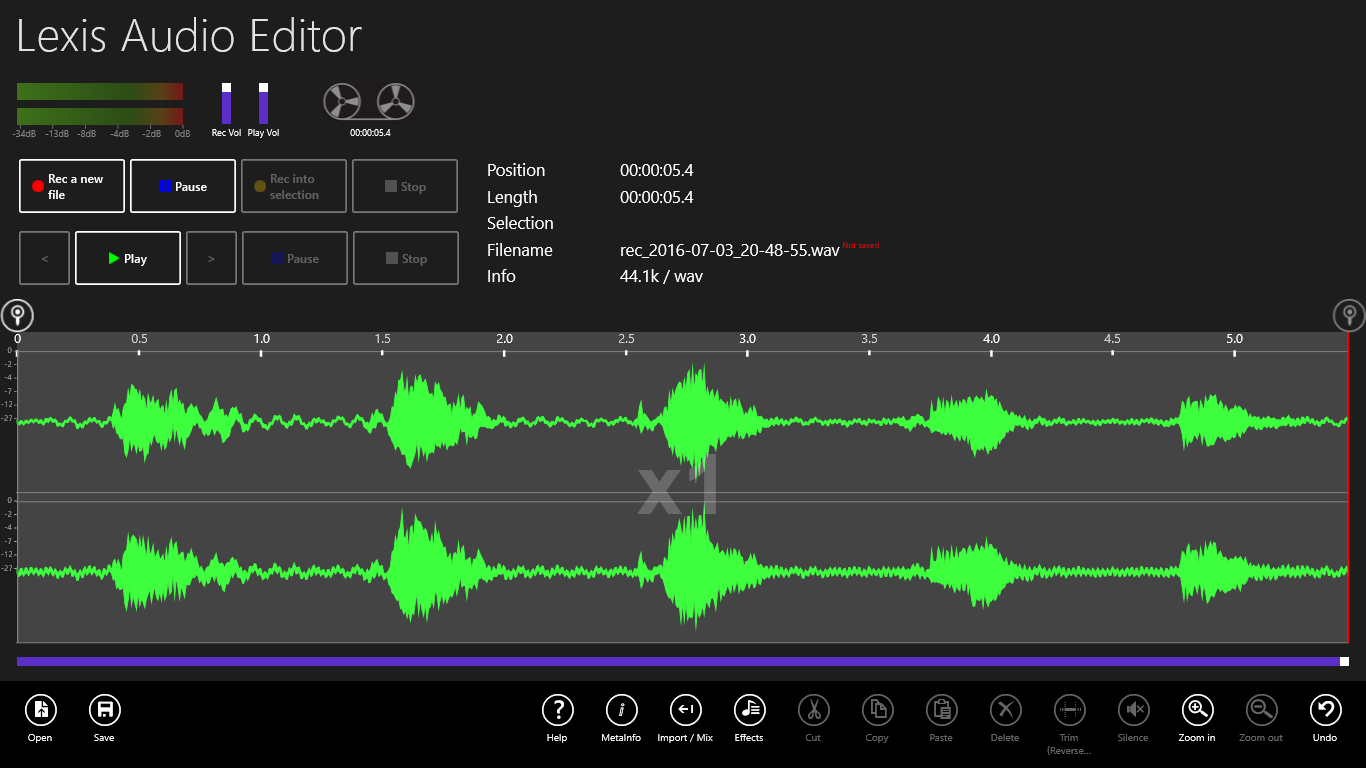
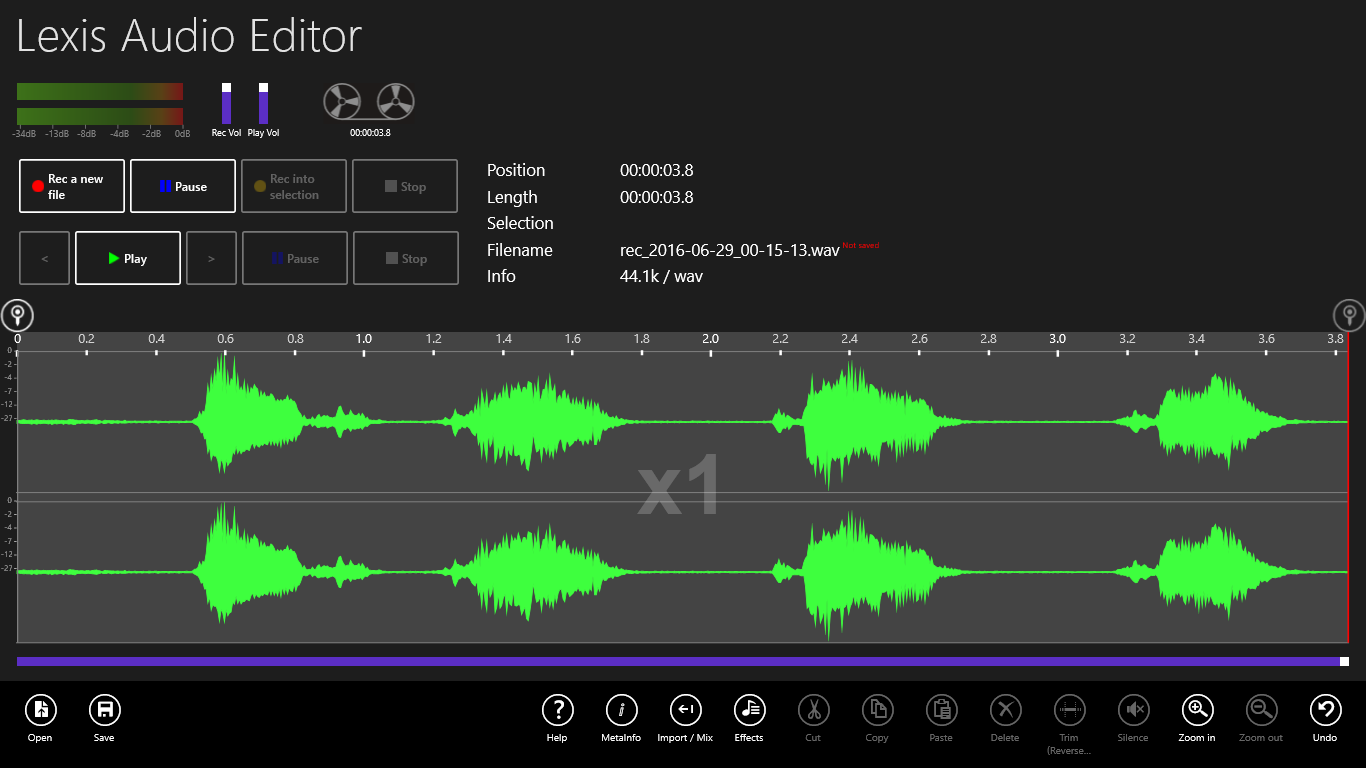
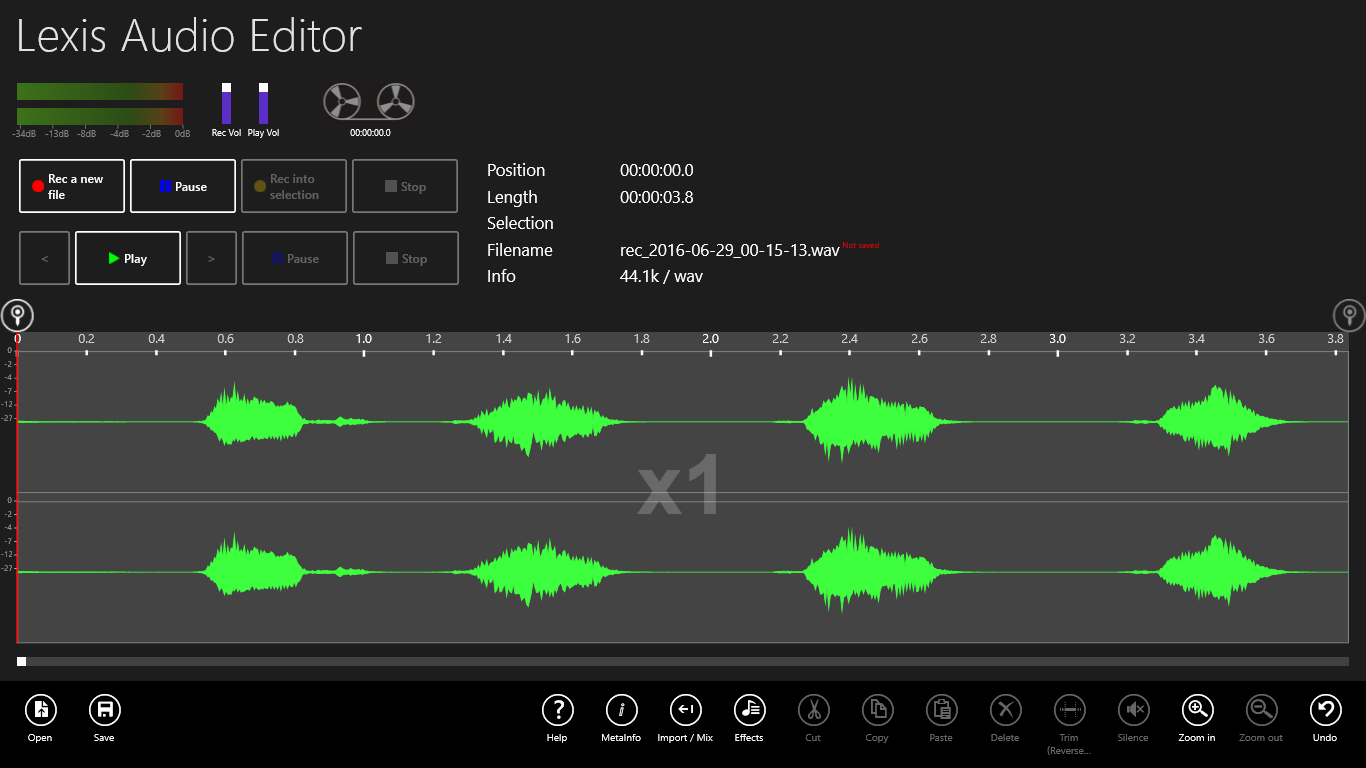
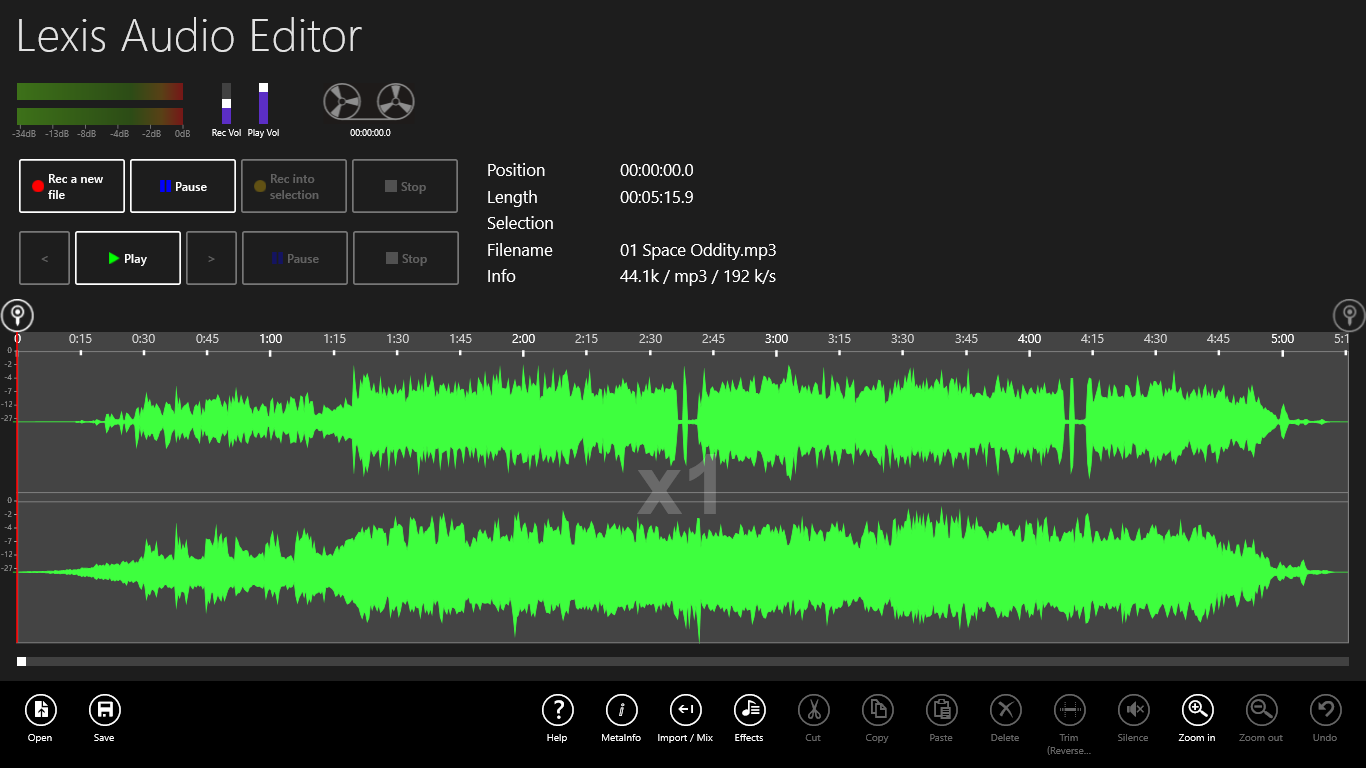
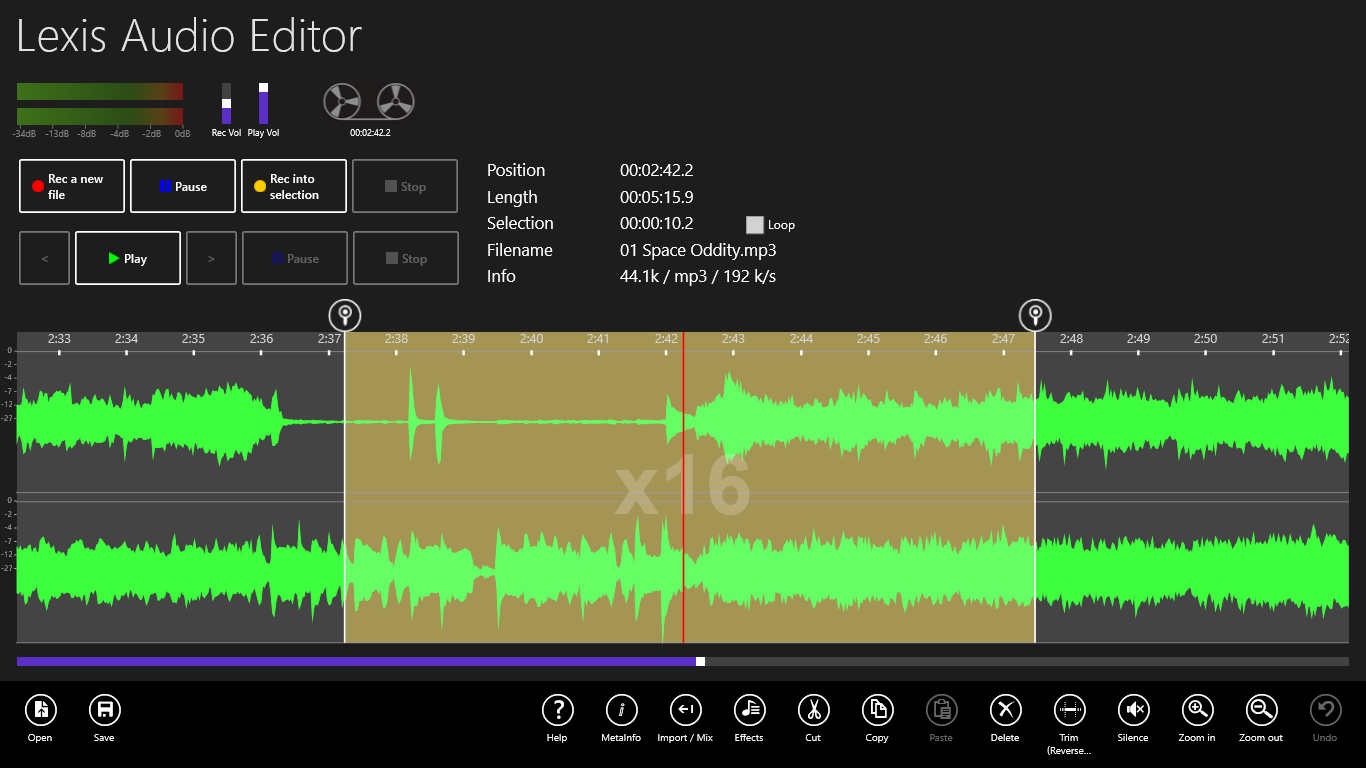
 Zoom, Scroll
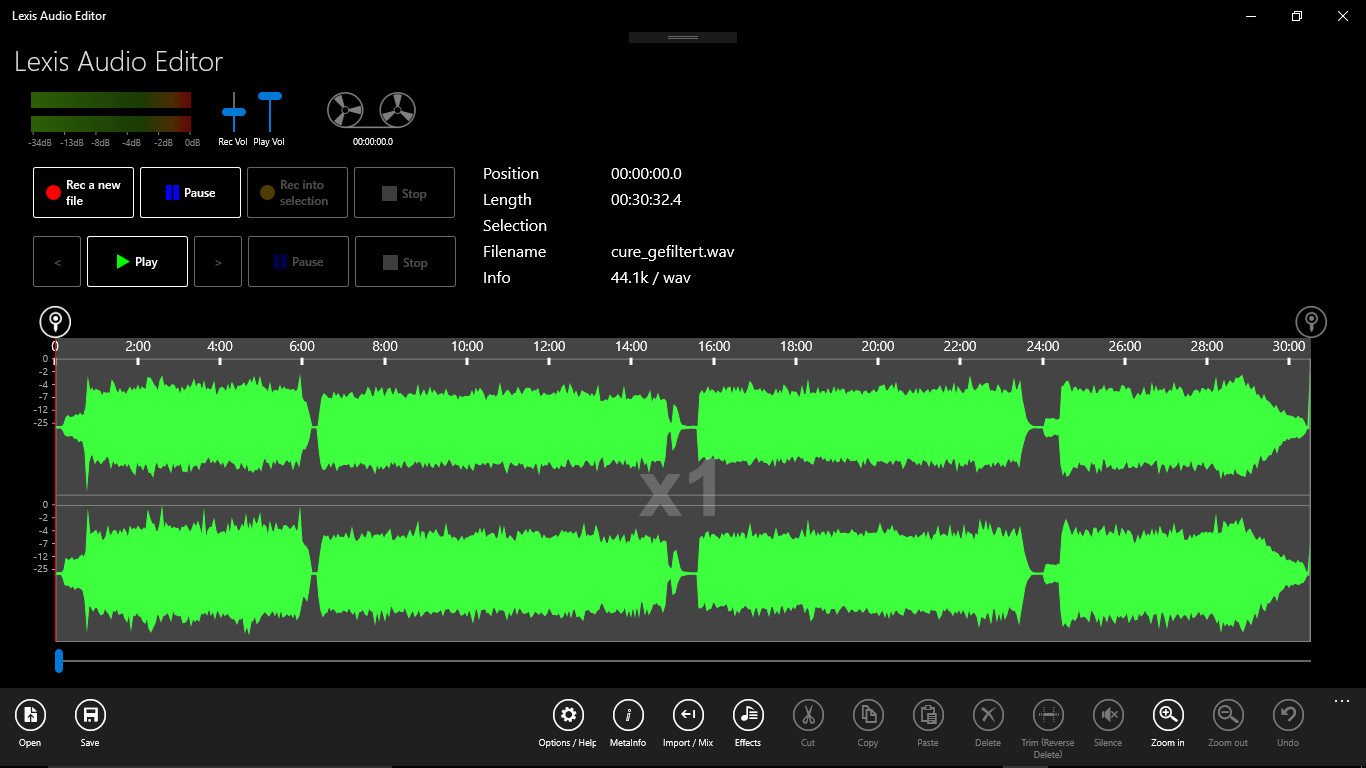
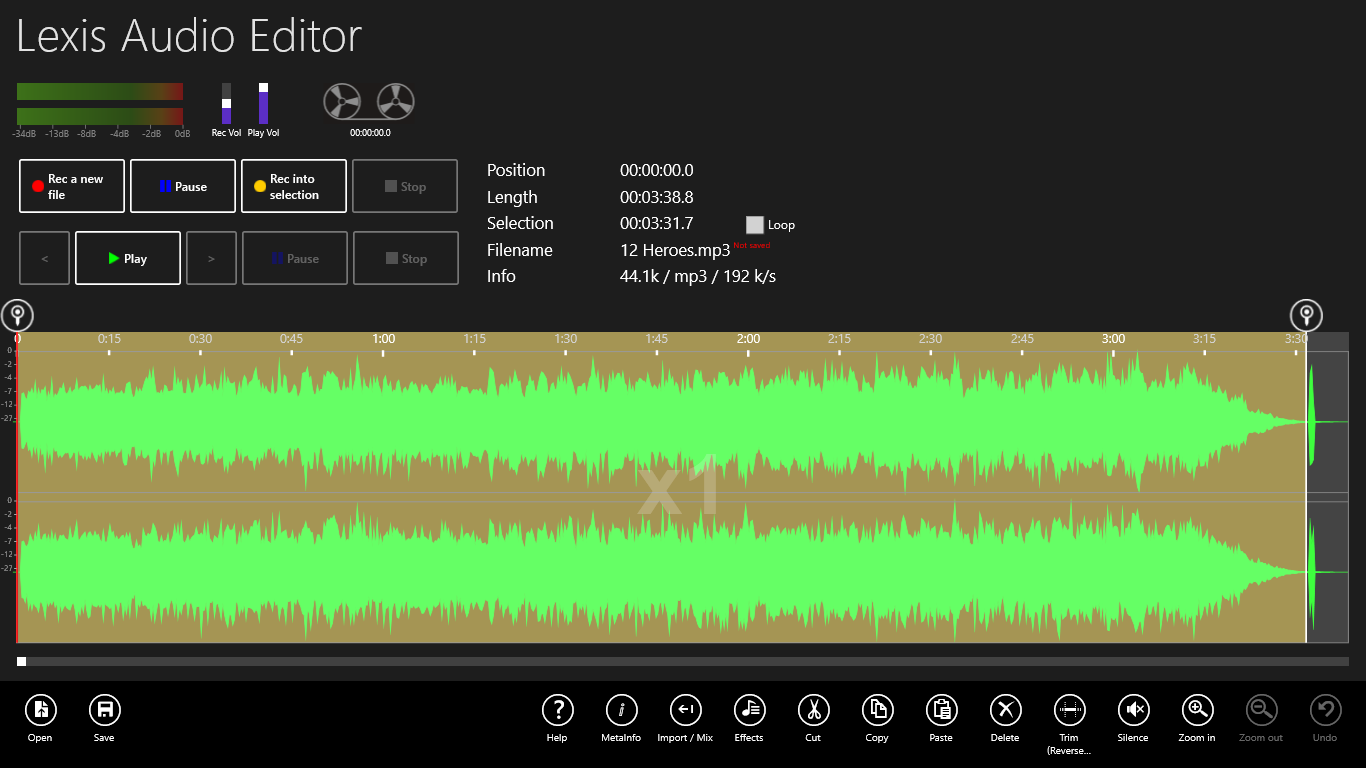
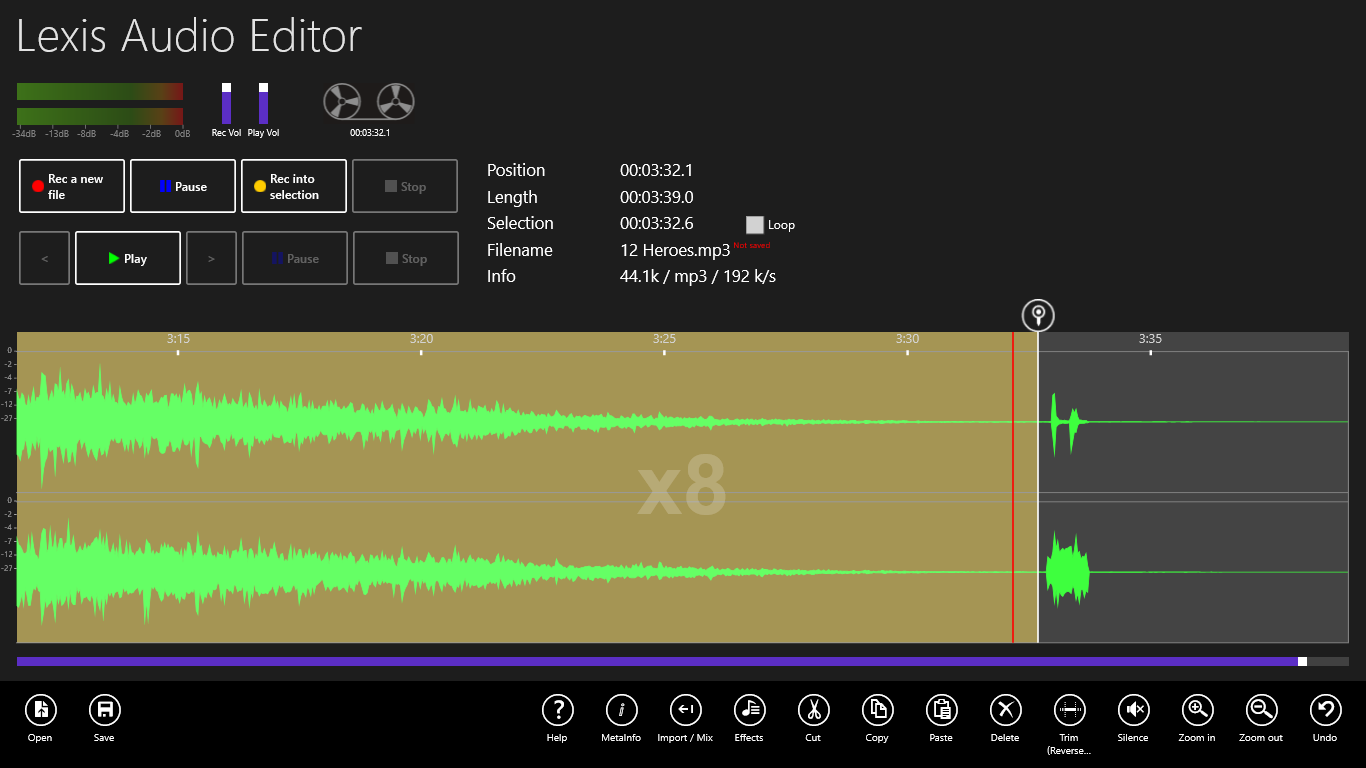
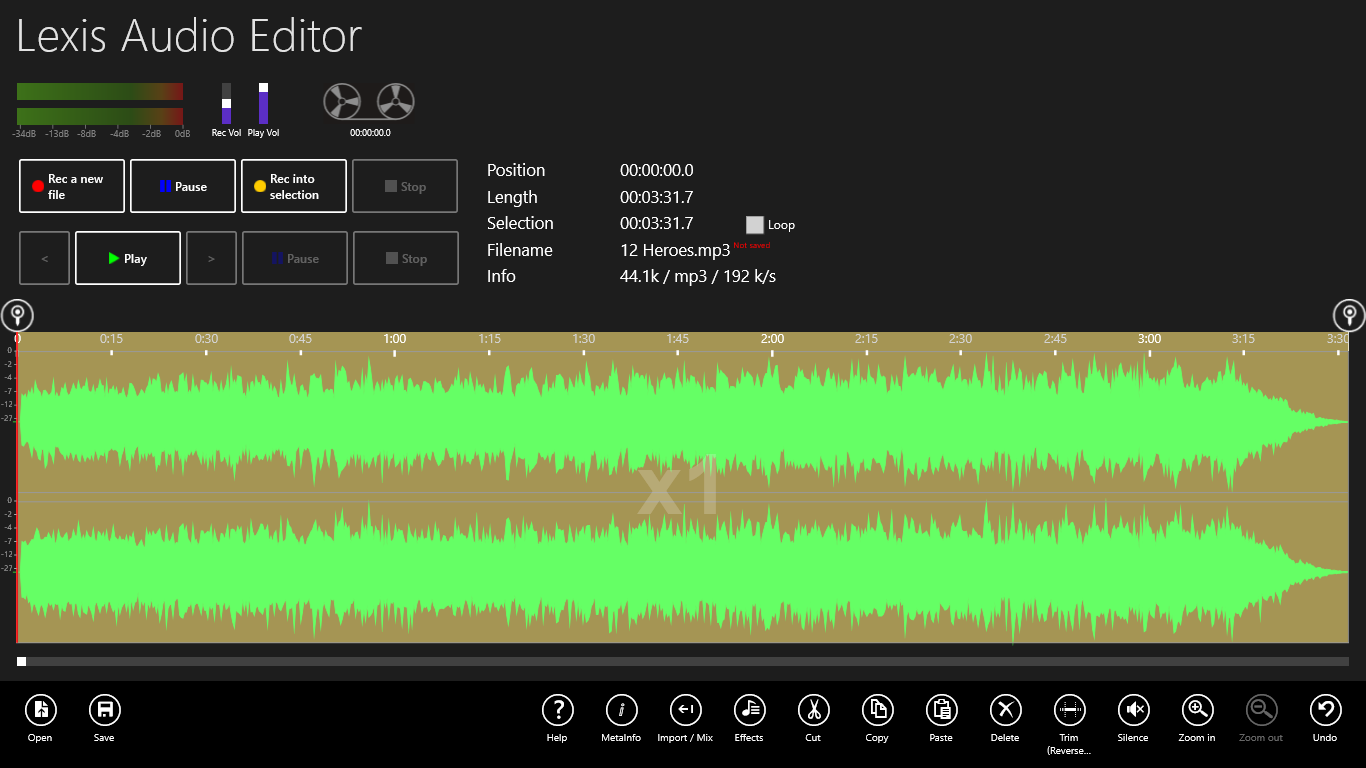
Click on “Zoom in” or “Zoom out” to enlarge the time window until 128 times. Shift the Play-position or the time window with the slider parallel to the screen bottom line.
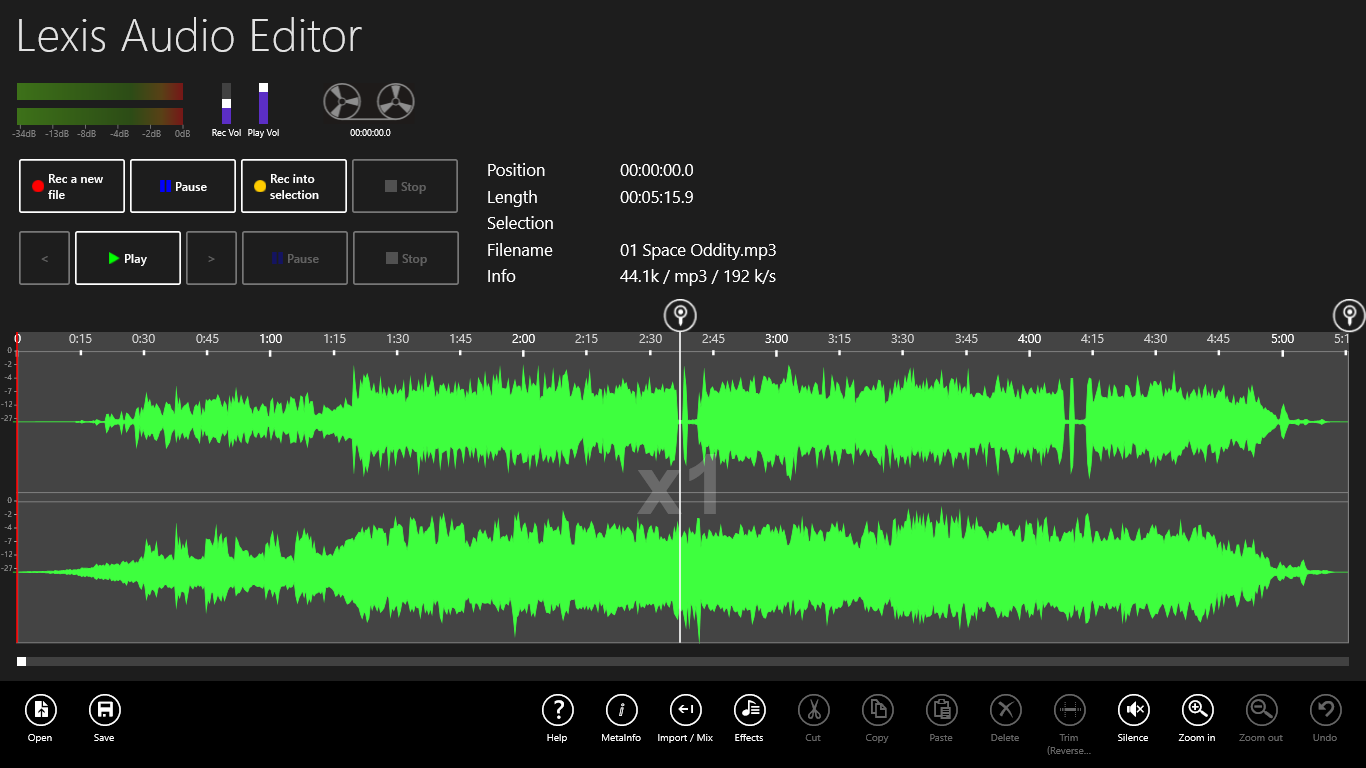
 Play, Pause, “<“, “>”
Play the current audio file with a click on “Play”. Click on the buttons “<” or “>” for a two seconds step forward or backward. If you click on one of this buttons longer, the steps will repeated. With a click on “Pause” you can break the playing and you can continue it with a click on “Play”.
To start the audio file at any point, double tap to the appropriate location in the curve area.
 Record a new file
Click on the Button “Rec a new file” to start a new record. If you want to observe the record volume first, click on “Pause” and then on “Rec a new file”. If the current file is not saved a warning messagebox appears.
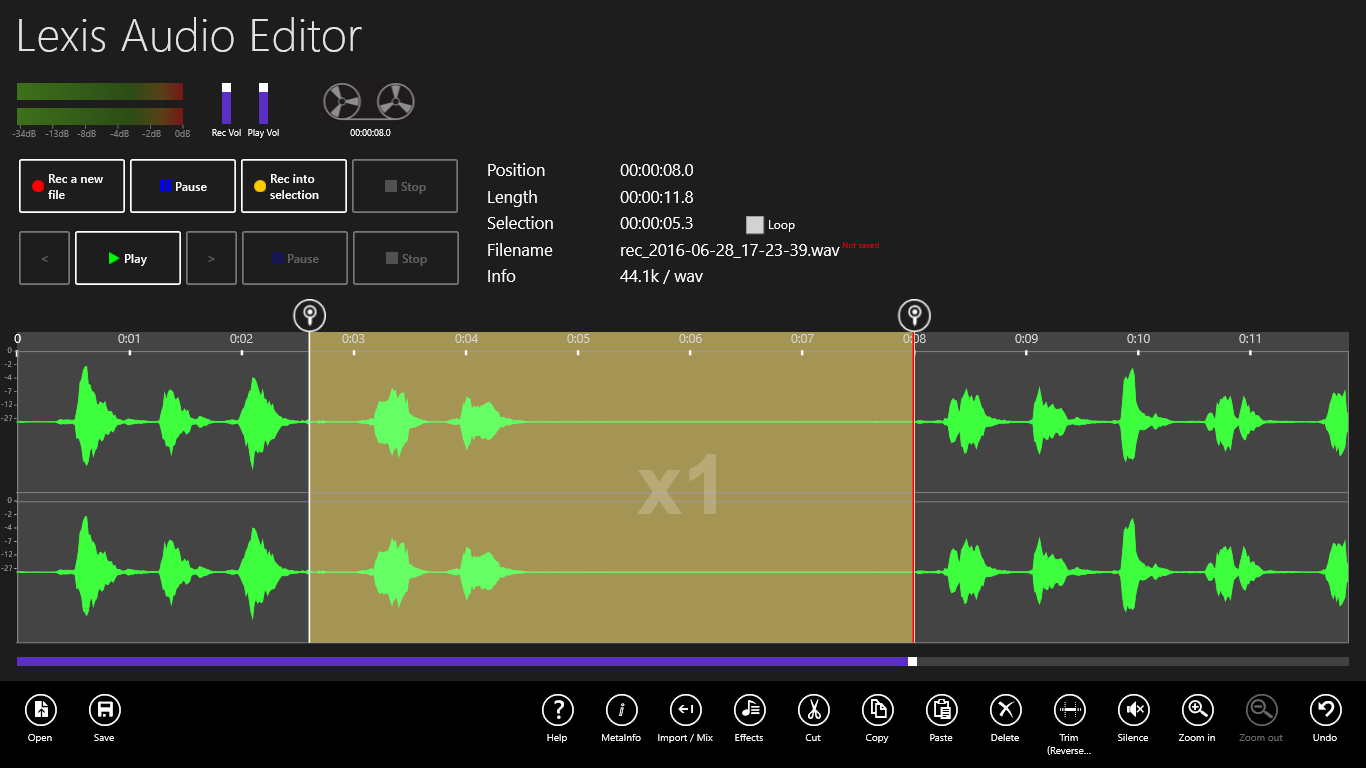
 Record into selection
If you want to insert a record into a existing audio file, first slide the left selector (upstairs of the curves) to the desired position. Klick on “Rec into selection” or an “Pause” and then on “Rec into selection”. You can also overwrite a range within the left and the right selector.
 Cut, Copy, Paste
For Cut and Copy a selection is required. You can copy a selection from one file to another file.
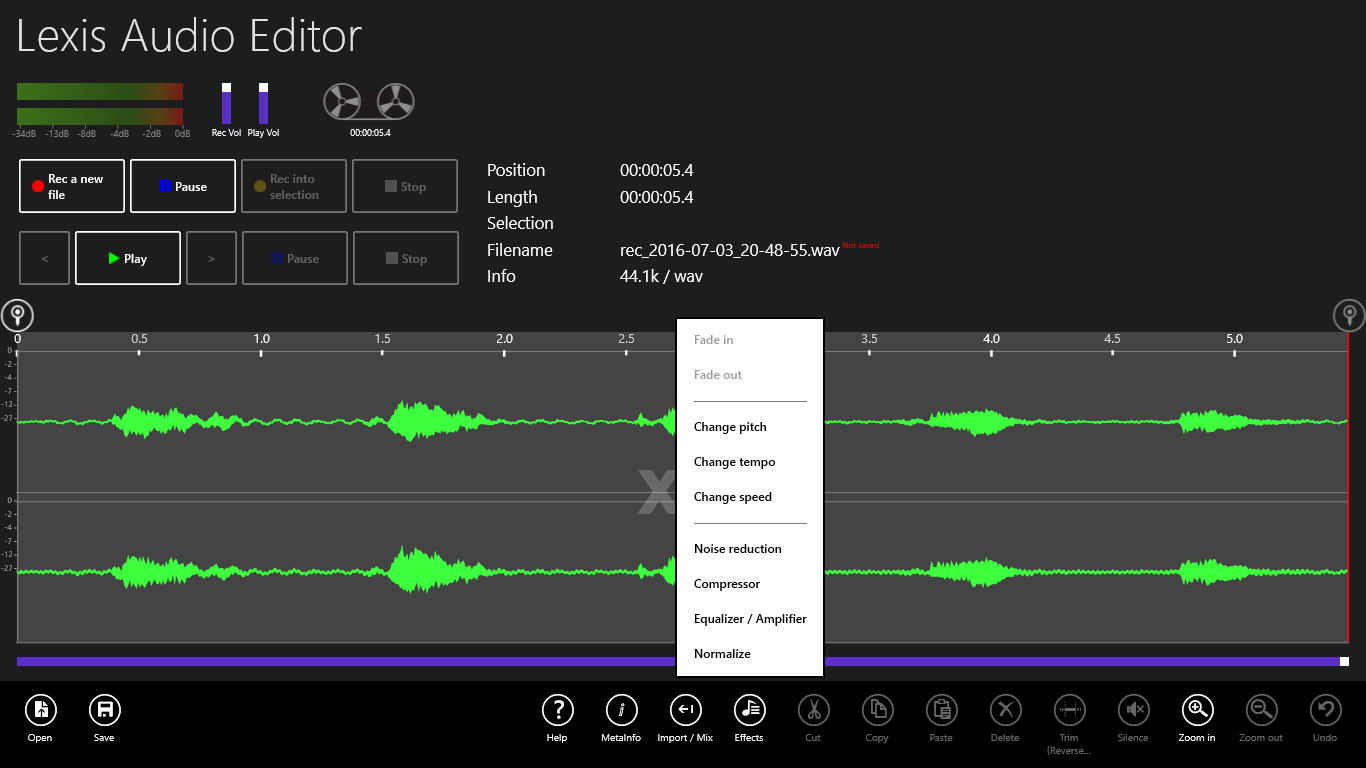
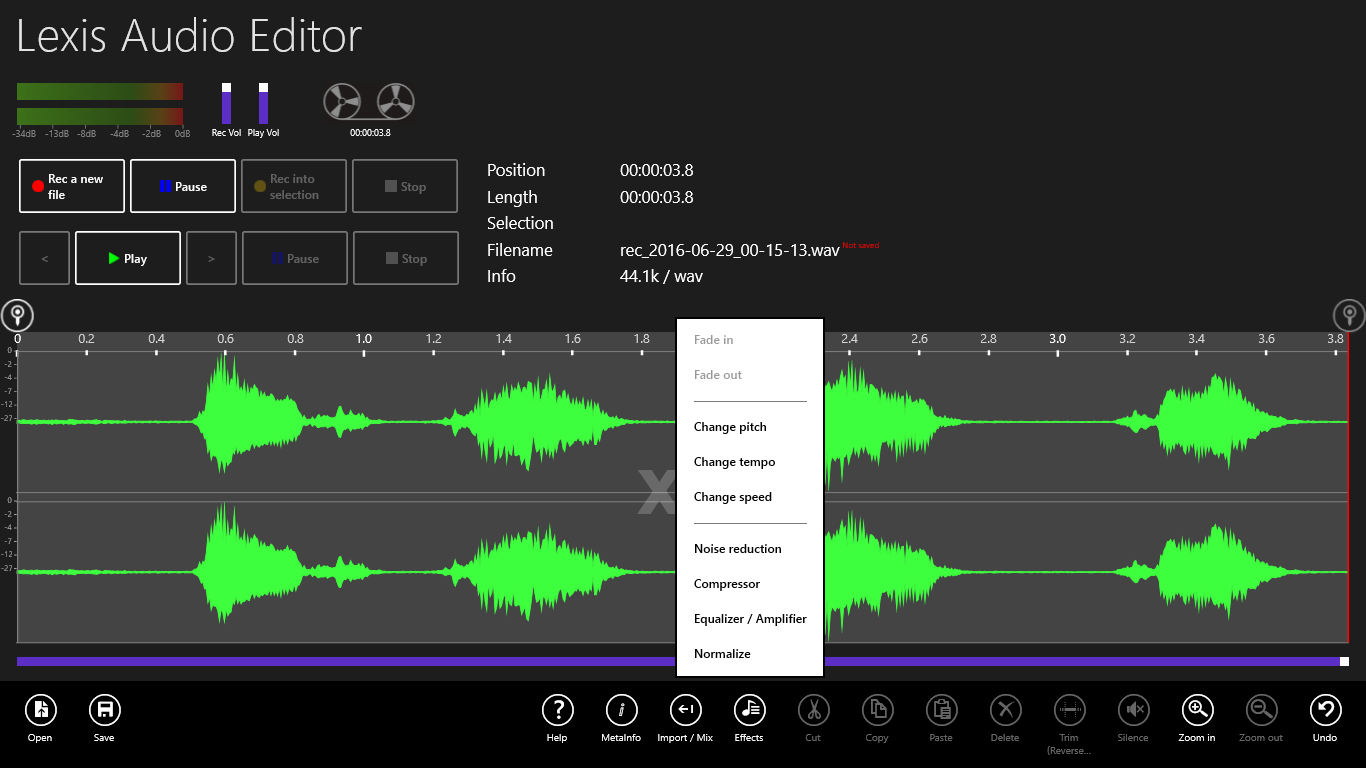
 Effects
If no selection is set, some effects will apply for the whole file.
Fade in/Fade out
Fade in/out the defined selection. If only the startselector is defined, the fade in/out applies from start of the file up to the selector position or from the selector position to the end of the file.
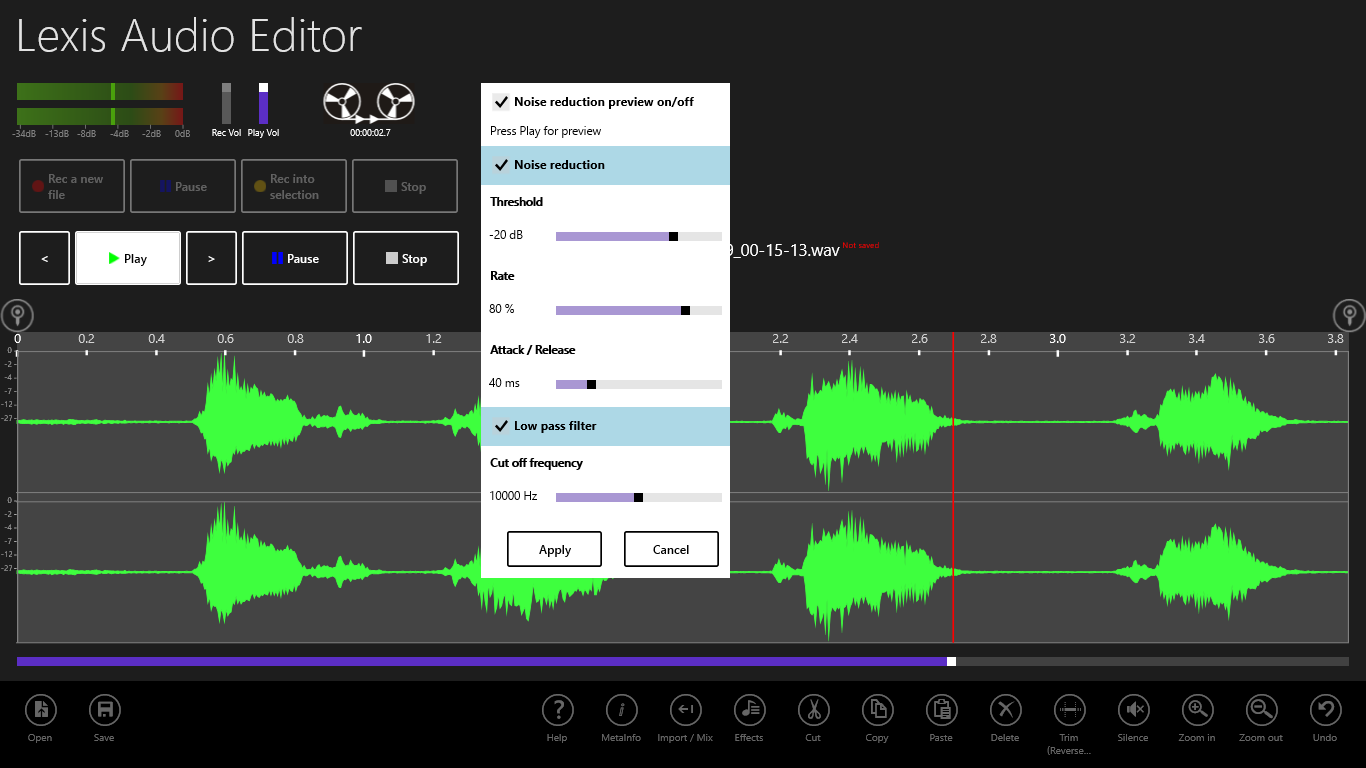
Noise reduction
Suppresses noise under the defined level and suppresses higher frequency noise with the low pass filter.
Compressor
Compresses the record. Increase the loudness of the record to a uniform level.
Equalizer / Amplifier
Corrects the frequency spectrum of the record. Uncheck the checkbox “EQ” if you want to use only the amplifier function.
Normalize
Amplifies the record to the maximal level who is possible.
Change pitch
Change pitch without changing tempo
Change tempo
Change tempo without changing pitch
Change speed
Change pitch and tempo. This corresponds to play a recording faster or slower.
Vocoder
Splits the signal into frequency bands and composes a new signal of sine or filtered noise, corresponding to the amplitudes of the frequency bands.
Echo
Select the “Echo level” and the “Delay” to define the strength and delay of the echo relative to the original signal. With “Feedback” you can define the strength with which the feedback signal is attenuated.
Reverb
- Roomsize
Controls the overall characteristics of the reverb effect. In general, this parameter influences both the simulation of early reflections and the sound of the tail.
- Reverb time
Controls the approximate duration of the reverb floor. In general, this parameter affects the simulation of the reverb tail. Very small settings cause the tail to almost disappear.
- Damping
This parameter controls the response of the early reflections and the decay of the reverb tail. The higher the value, the less intense is the reverb.
- Input Bandwidth:
Provides some kind of “tone” control. Small values cause a smaller frequency range to be processed. In general, the effect of this control can be heard in the treble band. Smaller values cause a “muffled” and less bright reverb.
- Dry signal level
A volume control that determines the amount of original sound in the reverb. The default -70 dB produces very little dry signal, and so a very strong effect.
- Early reflection level
A volume control that determines the amount of early reflections. Early reflections are similar to “slapback” echoes. Though they are not responsible for the typical “hall” effect generally linked with reverb, they contain lots of acoustic information about the environment in which the sound occurs.
- Tail level
A volume control that determines the amount of the “hall effect” of the reverb. The volume of the tail determines how intense the reverb appears to be.
Remove vocals (Cloud)
Removes the vocals from a record. The file is processed in a server in the Cloud. A ai algorithm is used.
Remove accompaniment (Cloud)
Removes the accompaniment from a record. The file is processed in a server in the Cloud. A ai algorithm is used.
Convert stereo/mono
Convert your track from mono to stereo or from stereo to mono.
Mute L/R
If you mute the left or the right channel, the effects will only apply at the not muted channel. For example you can use this to ballance the stereo channels. Use for this the Equalizer/Amplifier function and deactivate the EQ checkbox.
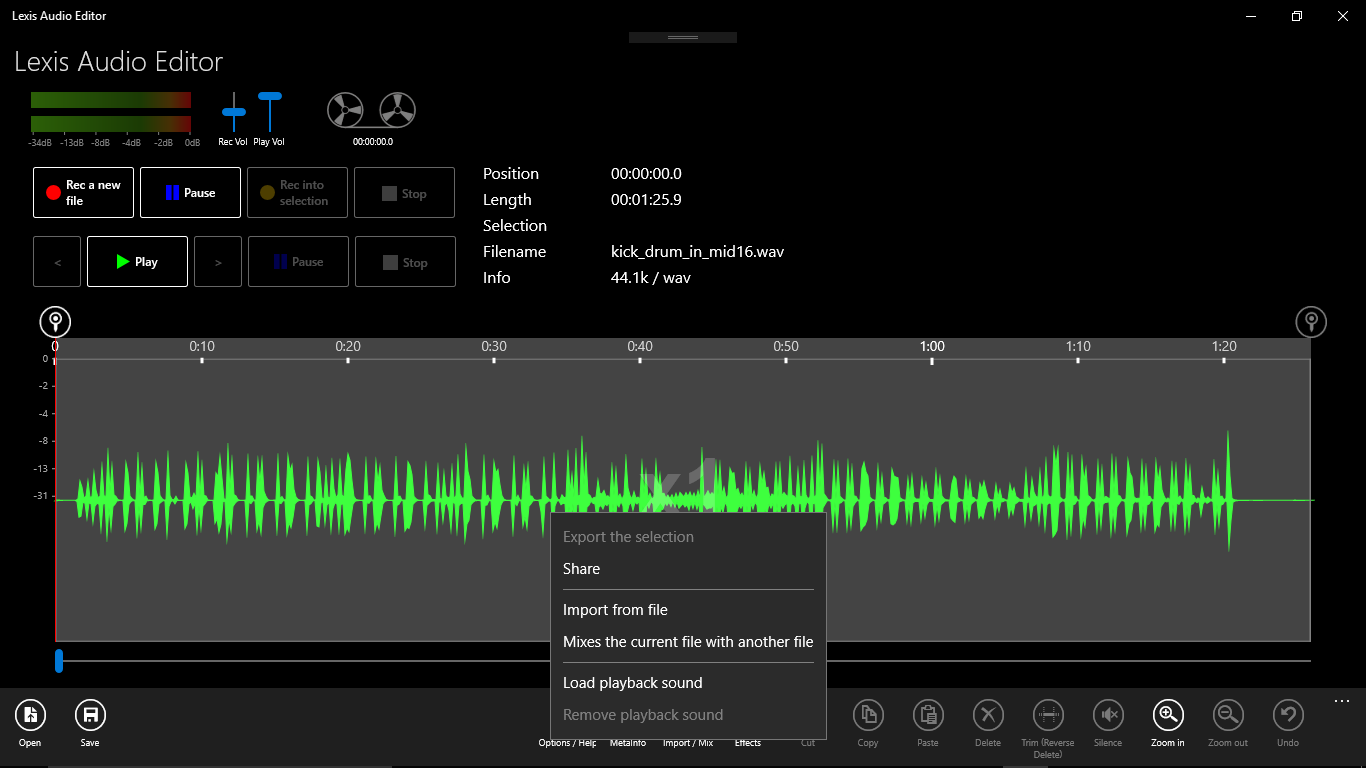
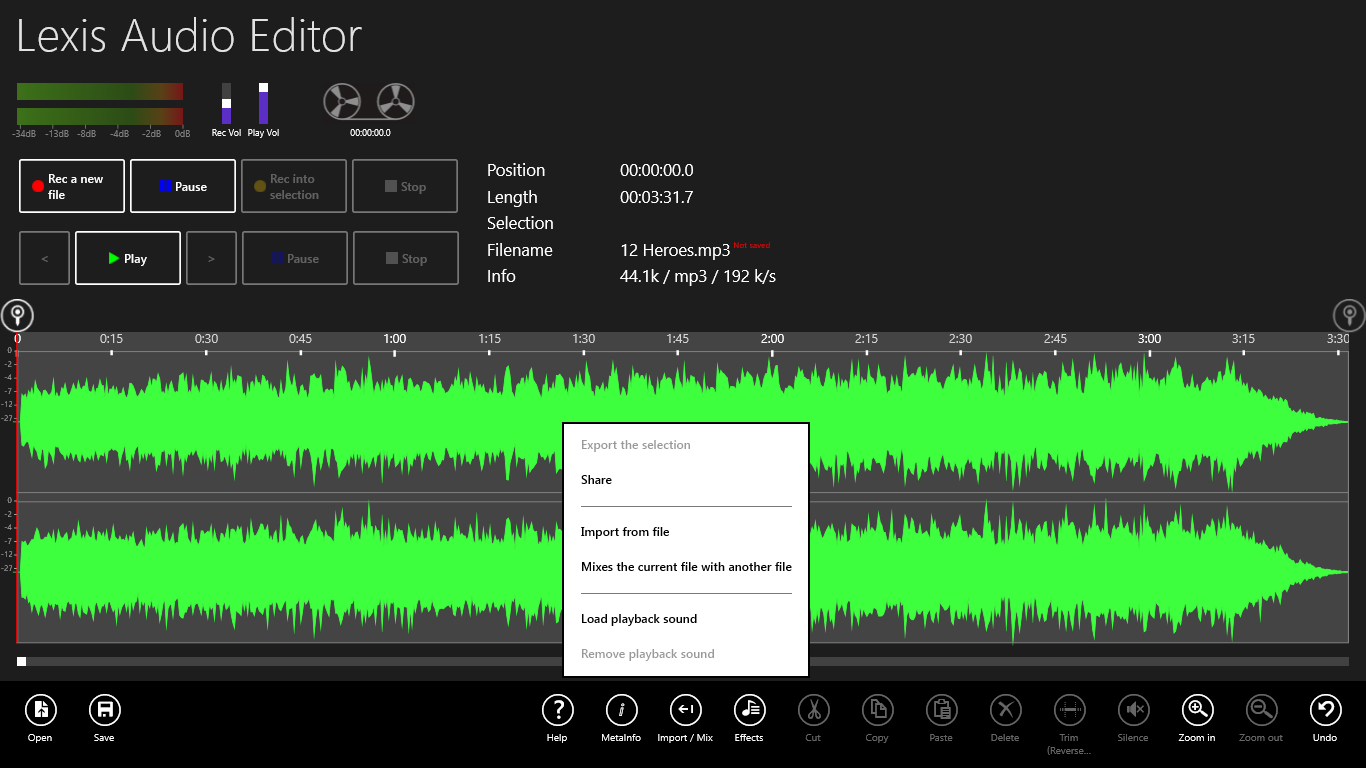
 Import / Mix
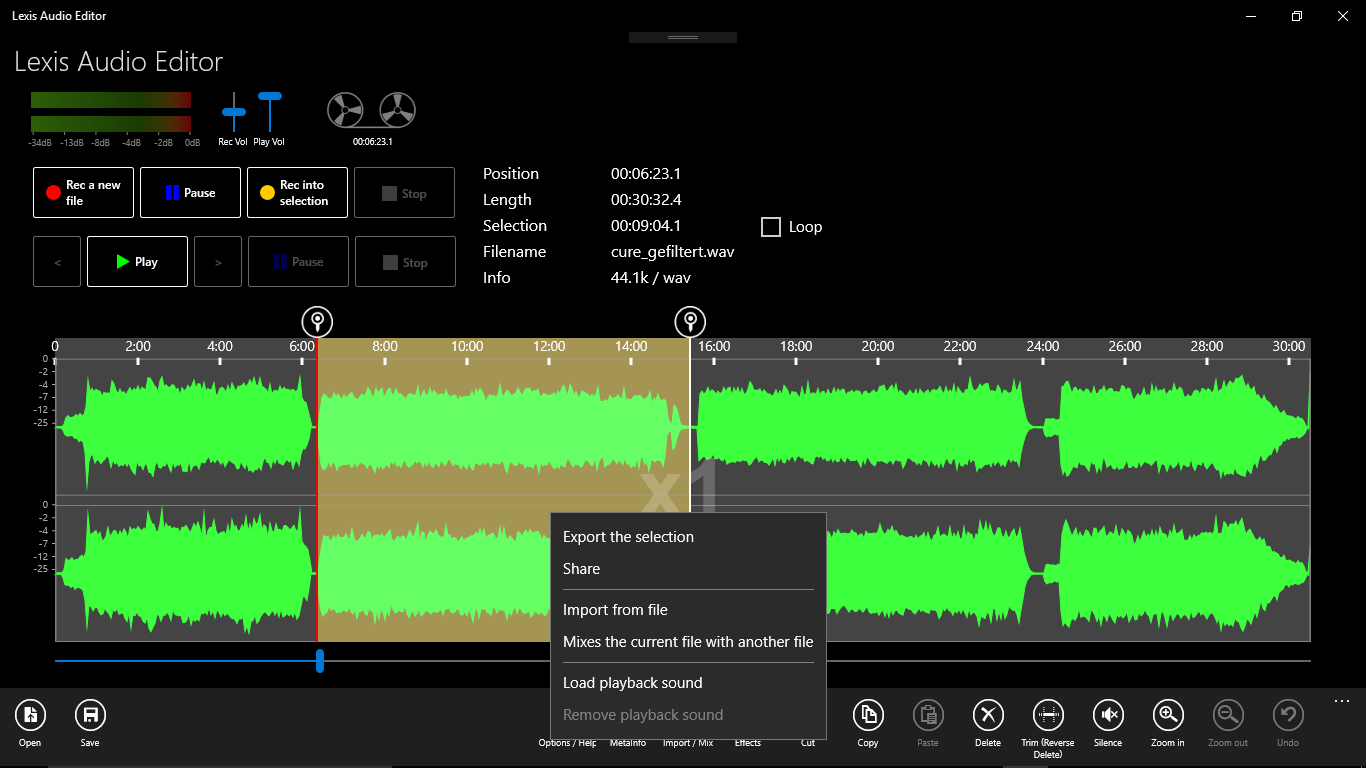
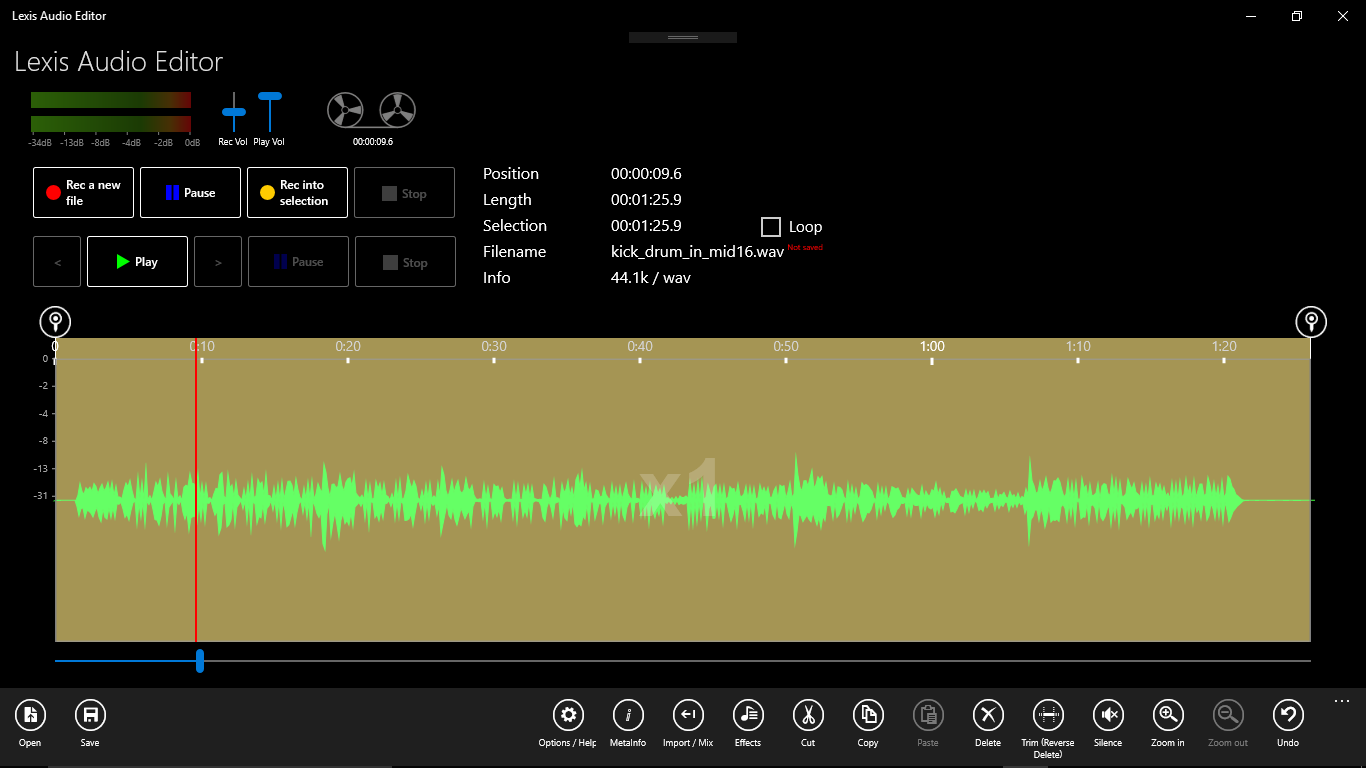
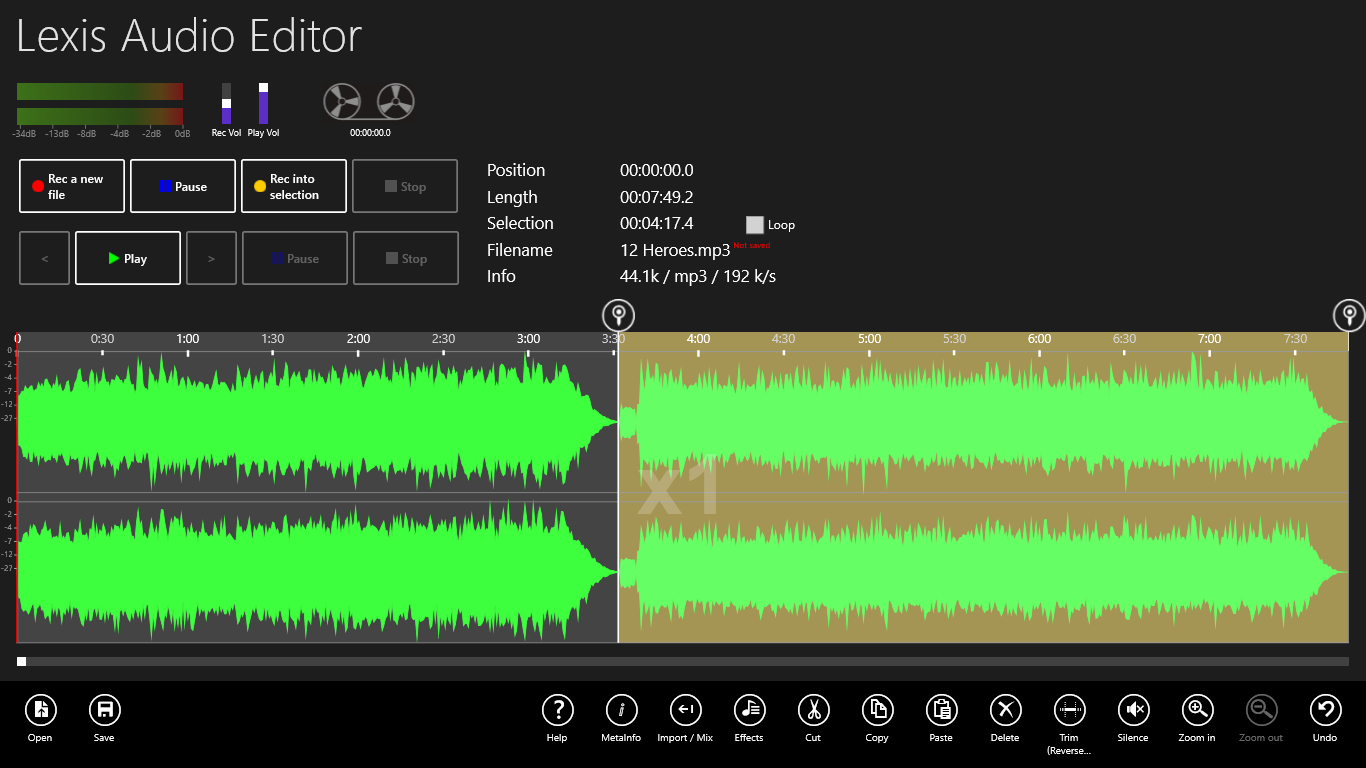
Click on “Import from file” to append the selected file at the end of the current audio file. If a selection is defined the file will insert at the position of this selection.
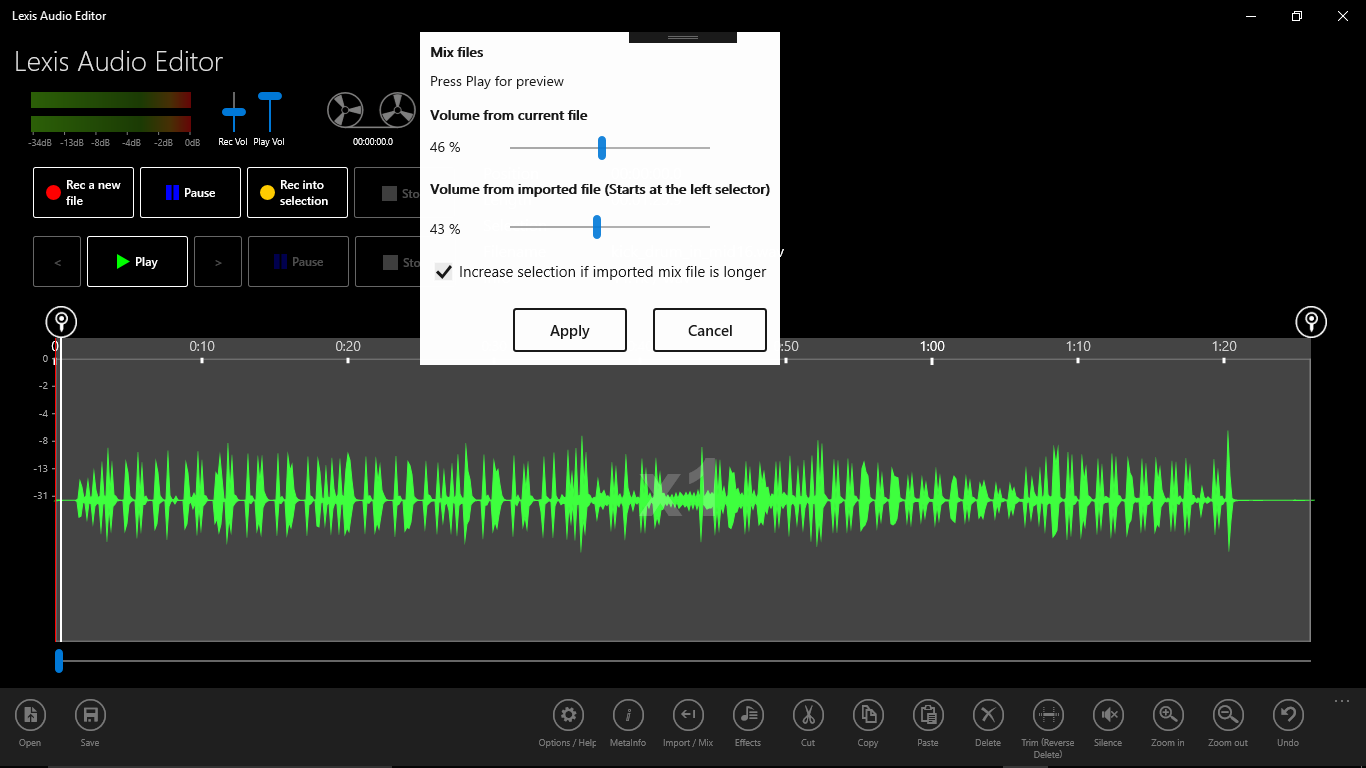
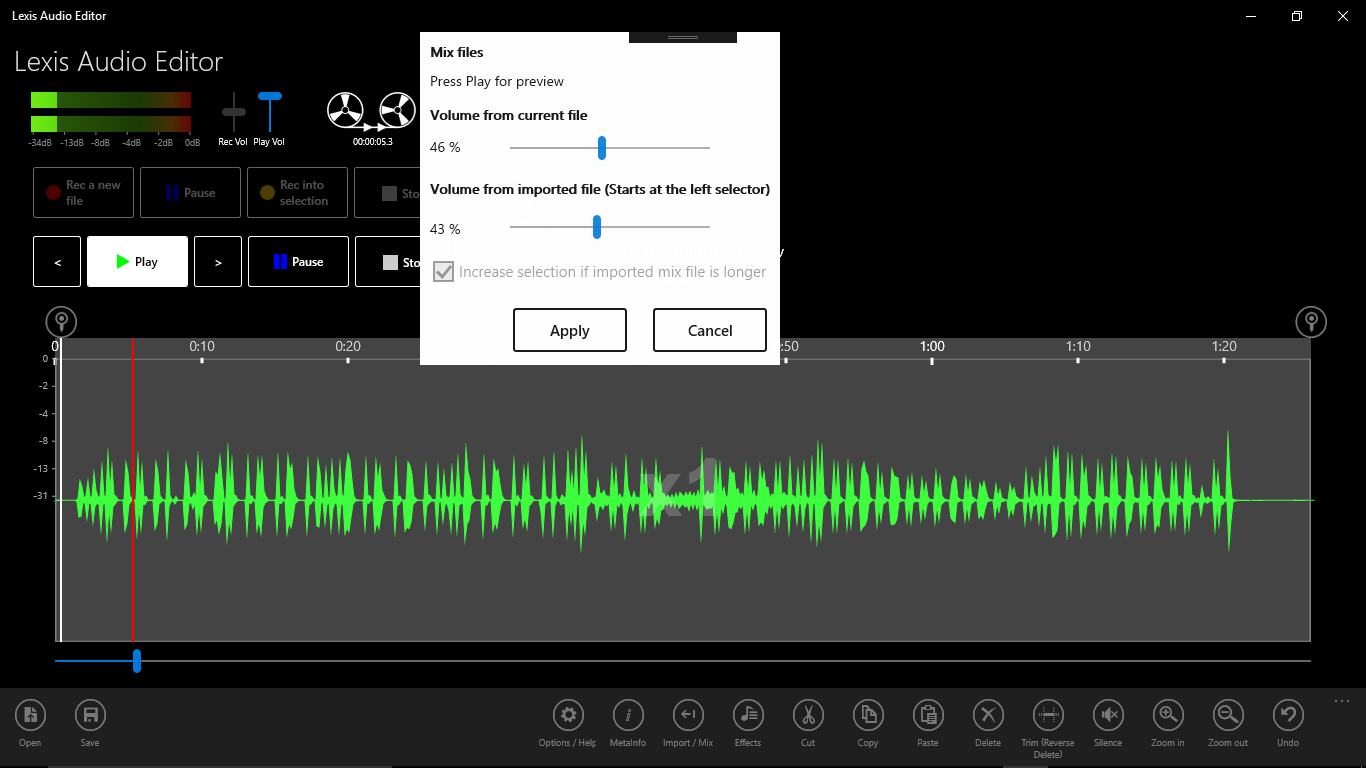
Click on “Mix the current file with another file” to mix the selected audio file into the current file. In the Dialog “Mix files” you can define the recording levels of the two audio files that are mixed together. Select the check box “Increase selection if imported mix file is longer” in order to achieve that the duration of the newly selected file to be mixed is fully present in the result. The imported file will mixe in at the startposition of the selector.
The function “Load playback sound” is mostly for musicians for multitrack recording usefull.
If you want to record with a playback sound, click on “Load playback sound”. You see the present of the playback sound, if the background of the record button is green. If you click on the record button, the playback sound starts and the recording begins. You can adjust the start of the recording in the options under Latency.
To remove the playback sound, click on “Remove playback sound”.
 Share
Share
To send a record to an other program, like a e-mail client, click on “Share” in the menu “Import/Mix”. If the actual file is in wav format, it will, before sharing, convert to a compressed audio format. You can choose this format in the options.
 Metainfo
The metadata is stored in the header of the audio file and can be used to associate the artist and other properties of the file.